I bought Raspberry Pi 4, now I managed to connect SSH via Wi-Fi.

I am interested in using Raspberry Pi as mini PC!
But what is needed?
How can I setup Raspberry Pi to use?
This page solves this issue.
What should be prepared?
- Raspberry Pi 4
Needless to say. - Heat spreader
Recently Raspberry Pi has great CPU power.
On the other hand it can produce much heat.
I would recommend to use heat spreader for stable usage. - microSD
Please buy Class10 for the best performance. - USB cable
If you want to connect some peripherals like USB HDD, please choose USB cable that can output 3.0A at minimum.
Open box and connect
First you take Raspberry Pi from box.
In box we can find only Raspberry Pi, simple instruction sheet, and that’s it.
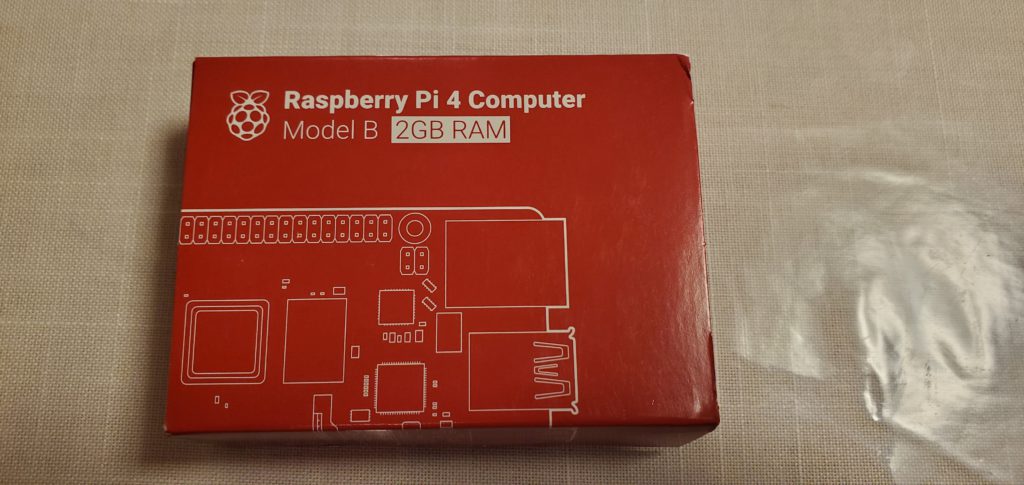
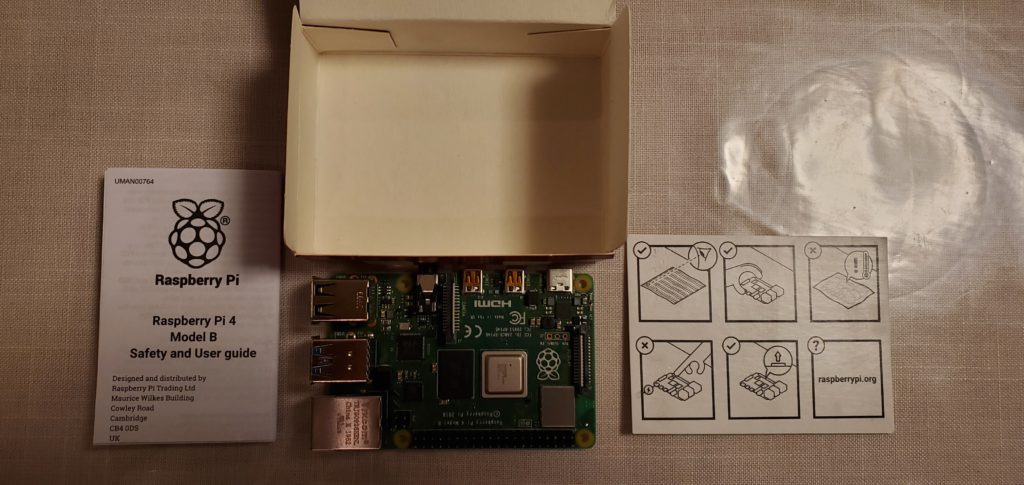
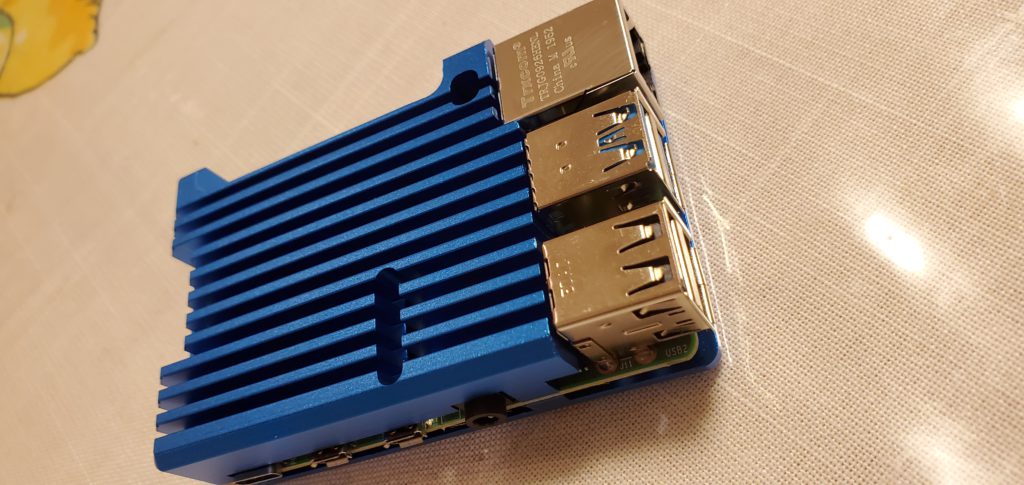
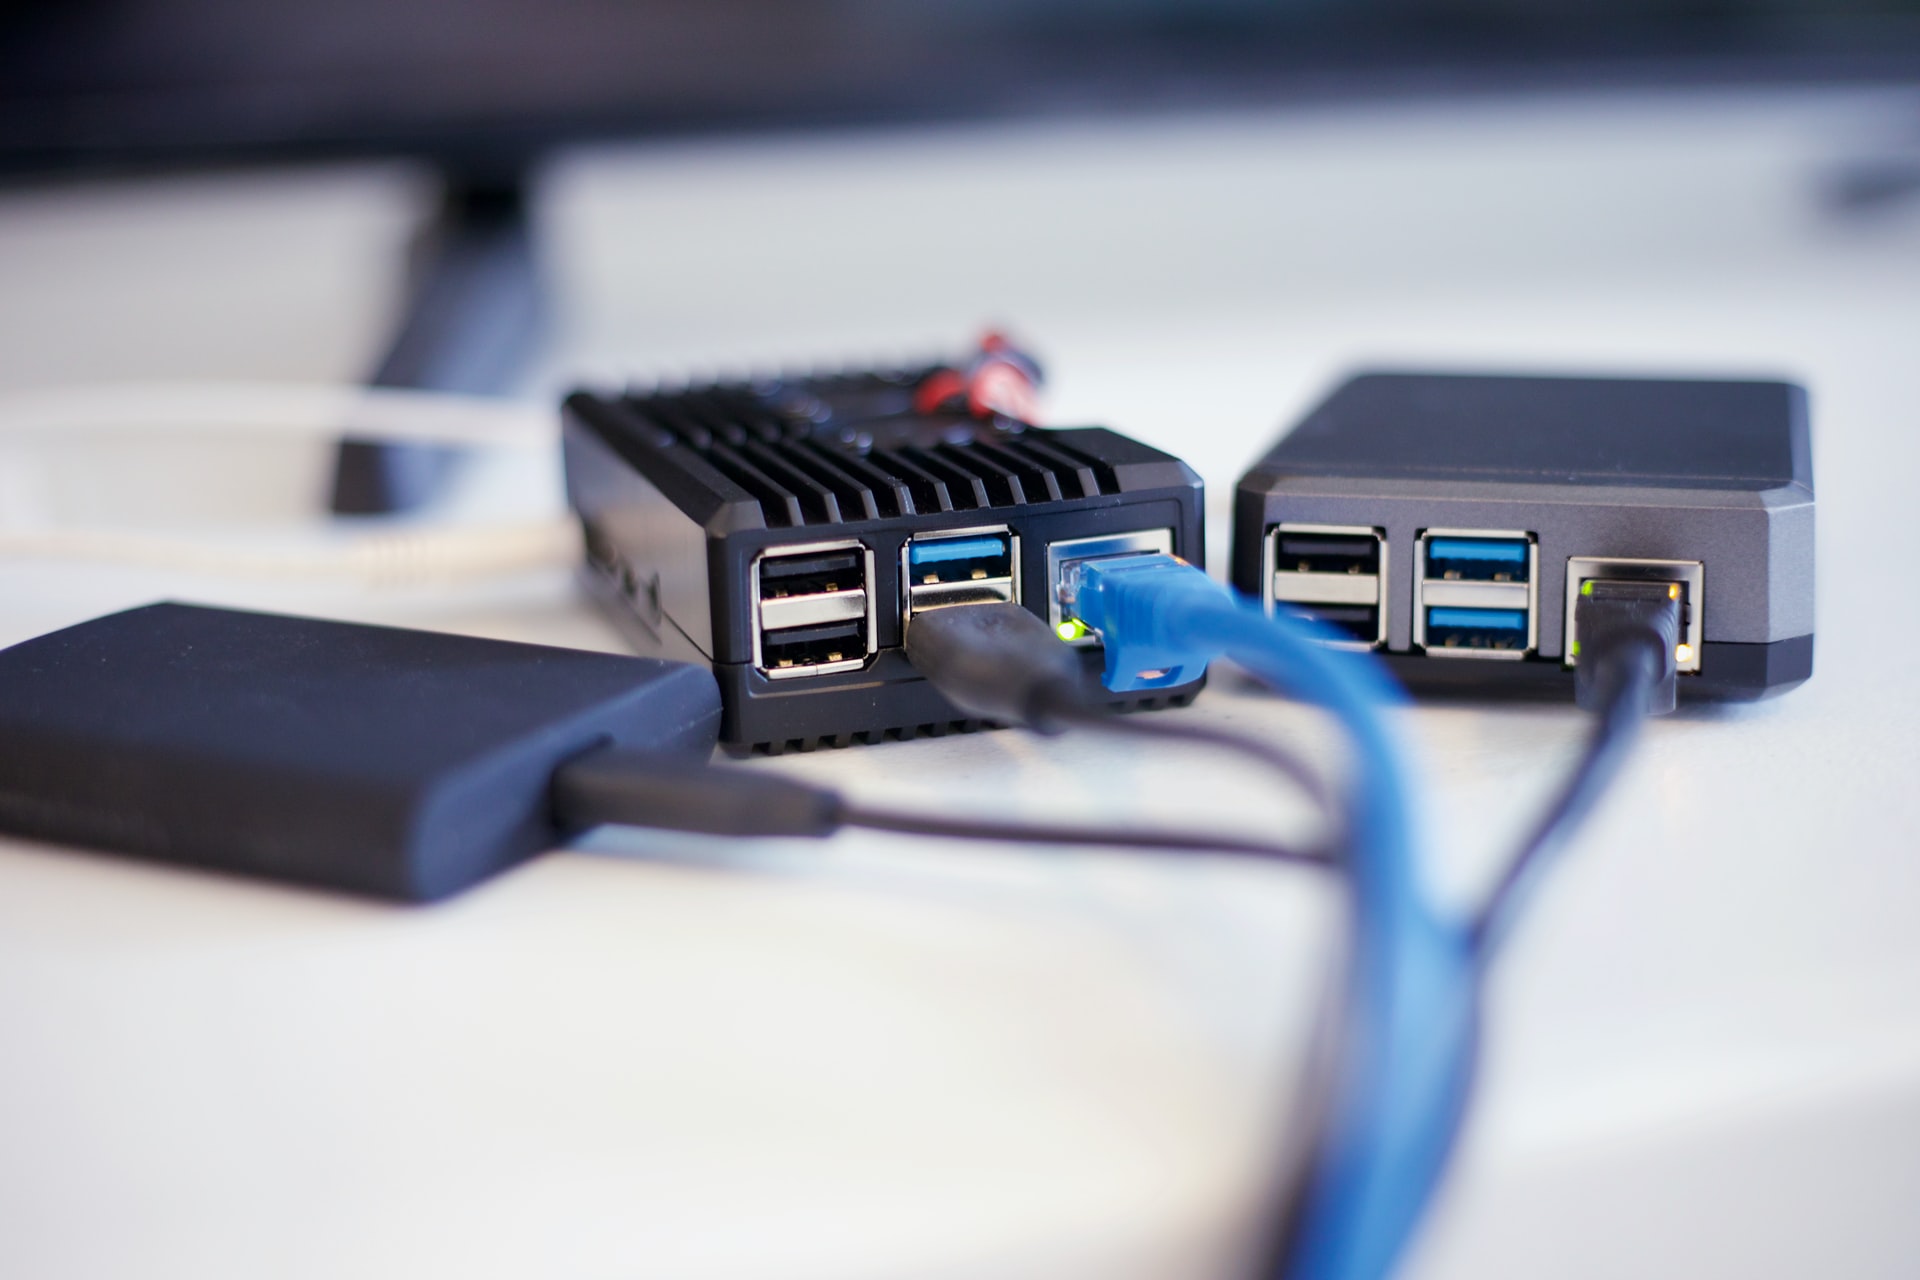
Then I attached heat spreader.
This is almost the same size as tobacco, very small!
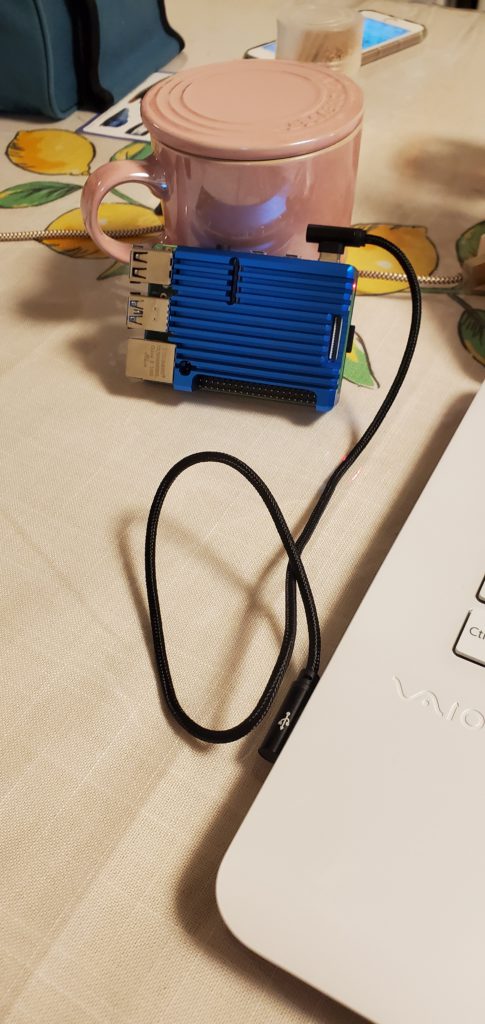
I connected USB cable.
In this image Raspberry Pi is connected to VAIO laptop.
– Of course it is not safe to connect peripheral that consumes much current like USB HDD.
Install Raspberry Pi OS to microSD
Then I installed operating system to microSD.
Now we can find Raspberry Pi Imager which is useful installation tool provided officially.
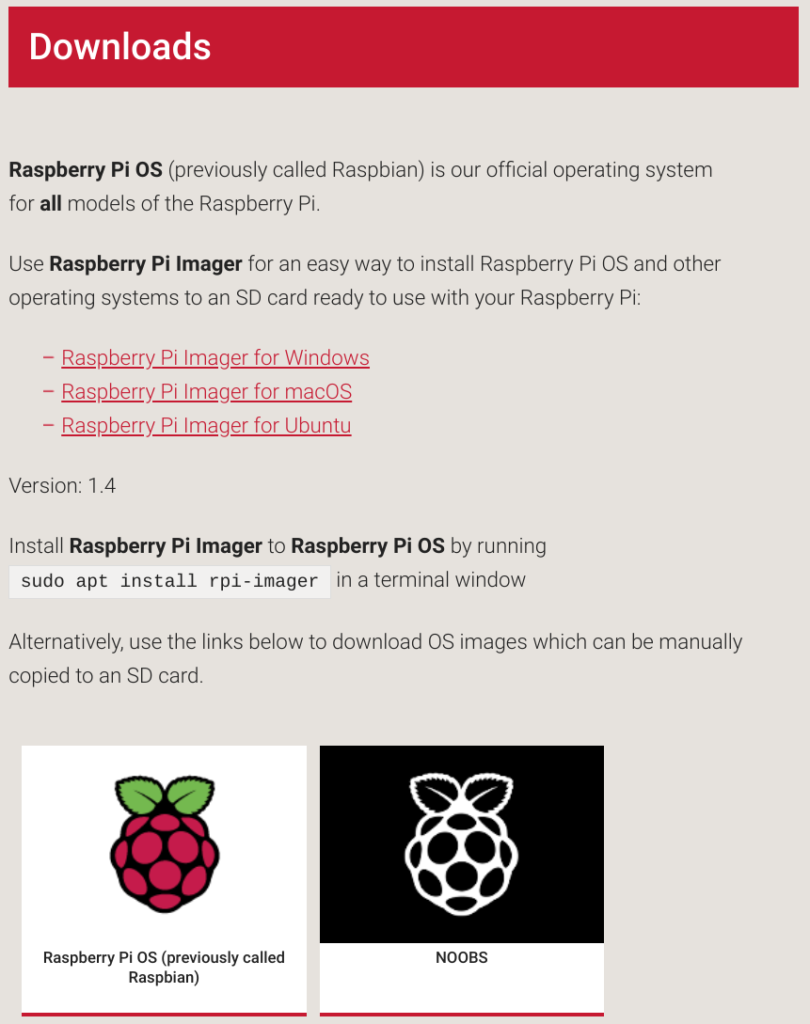
I am linuxer so I used dd 🙂
# Downloading image file by curl. -L option is used to redirect.
curl -L -o raspberrypi.zip https://downloads.raspberrypi.org/raspios_lite_armhf_latest

# Extracting
unzip raspberrypi.zip

# Writing to microSD
sudo dd if=2020-08-20-raspios-buster-armhf-lite.img of=/dev/sda bs=1M
This file name is the latest one as of October 2020, so please check official site for the latest version.
After finishing writing, disconnect microSD once and connect again.
Mount boot partition to setup SSH and Wi-Fi connection.
# Mounting /dev/sda1 partition to /mnt.
pi@raspberrypi:~ $ sudo mount /dev/sda1 /mnt
# Create empty file to /mnt/ssh to make Raspberry Pi start SSH.
pi@raspberrypi:~ $ sudo touch /mnt/ssh
Next is Wi-Fi settings.
<SSID> and <PresharedKey> should be replaced by your own environment values.
sudo vim /mnt/wpa_supplicant.conf

# Below is the contents of wpa_supplicant.conf
country=JP
ctrl_interface=DIR=/var/run/wpa_supplicant GROUP=netdev
update_config=1
network={
    ssid="<SSID>"
    psk="<PresharedKey>"
}
That’s it for initial setup.
Please unmount /mnt, disconnect and connect to Raspberry Pi.
sudo umount /mnt
Connect with SSH
Let’s start Raspberry Pi!
Raspberry Pi starts automatically if USB cable connects Raspberry Pi and USB cable connects power supply.
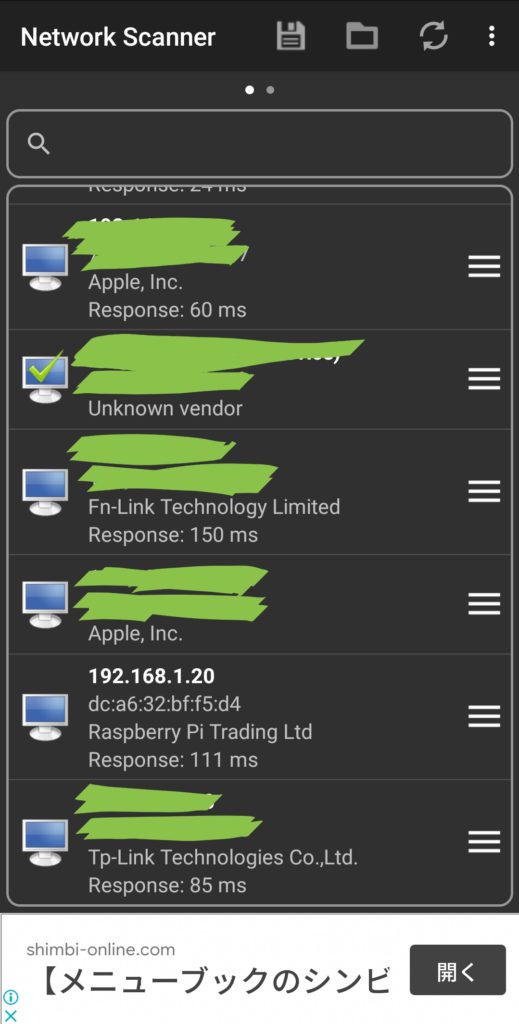
If you are not able to identify IP address of Raspberry Pi, you can use network scanning tool like this.
With this tool you can easily identify Raspberry Pi’s IP address!
– In this image, 192.168.1.20 is Raspberry Pi.
You should be able to connect by SSH, let’s try.
– User name: pi
– Password: raspberry
ssh pi@192.168.1.20
The authenticity of host '192.168.1.20 (192.168.1.20)' can't be established.
ECDSA key fingerprint is SHA256:xxxxxxxxxxxxxxxxxxxxxxxxxxxxxxxxxxxxxxxxxxx.
Are you sure you want to continue connecting (yes/no)? yes
Warning: Permanently added '192.168.1.20' (ECDSA) to the list of known hosts.
pi@192.168.1.20's password:
Linux raspberrypi 5.4.72-v7l+ #1356 SMP Thu Oct 22 13:57:51 BST 2020 armv7l

The programs included with the Debian GNU/Linux system are free software;
the exact distribution terms for each program are described in the
individual files in /usr/share/doc/*/copyright.

Debian GNU/Linux comes with ABSOLUTELY NO WARRANTY, to the extent
permitted by applicable law.
Last login: Sun Nov  8 01:00:09 2020 from 192.168.1.x

SSH is enabled and the default password for the 'pi' user has not been changed.
This is a security risk - please login as the 'pi' user and type 'passwd' to set a new password.
You got it!
Conclusion
How was that? Is it interesting?
The new Raspberry Pi has much CPU/RAM, so the performance is not cheap, it can be used documentation, or personal server and so on.
And Raspberry Pi OS is debian based linux, so we can easily install contents server software like wordpress, nextcloud, or others. We can make web camera if camera module connects to Raspberry Pi!
I am enjoying, I like this!
If you have any trouble when you are using/setting up Raspberry Pi, feel free to contact me via SNS or inquiry form!
In below article I introduce each step how to establish nextcloud on Raspberry Pi 4!
You should be interested in it too!


Comments