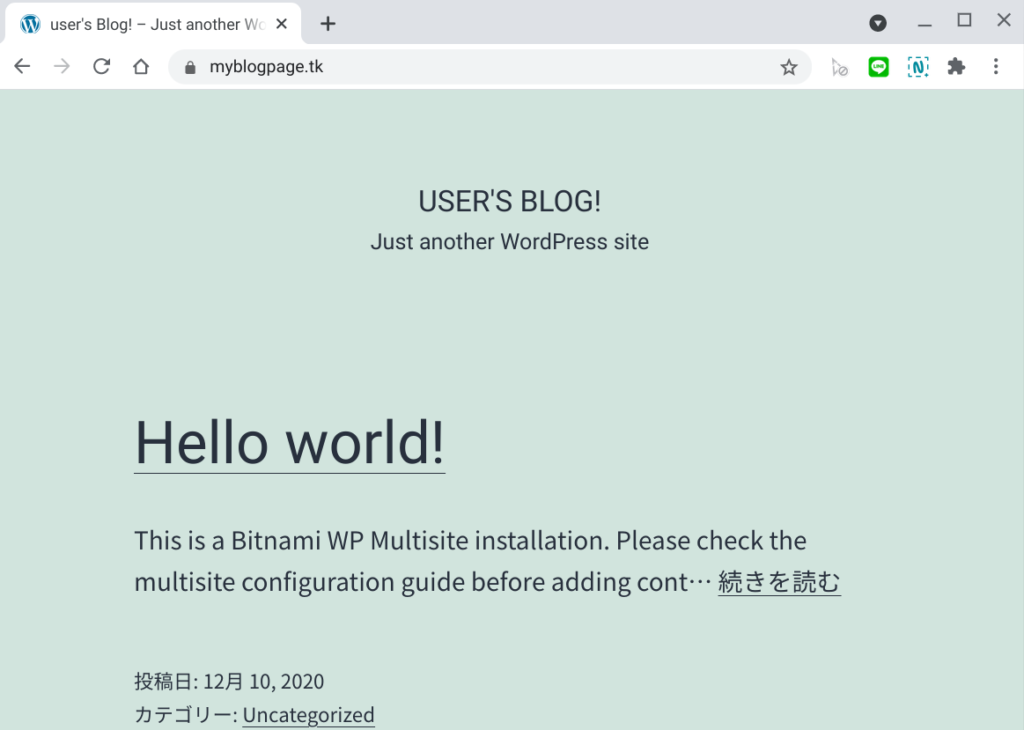
Let’s enable HTTPS on WordPress running on Lightsail!
I am sure you are interested in having your own blog page running on AWS because you are here! Let do it together!
The whole setup procedure is shown in below article.

I assume you already have AWS account that links your Amazon account.
Although you don’t have, don’t worry, getting account is very easy, so get it!
Log in Lightsail instance by SSH and then run these commands.
There is a command specialized to enabling HTTPS.
You just need to run it. Super easy.
You will be asked several questions during commands, so enter your answer.
sudo /opt/bitnami/bncert-tool
Domain list []: myblogpage.tk
The following domains were not included: www.myblogpage.tk. Do you want to add them? [Y/n]: (Enter)
Do you agree to these changes? [Y/n]: (Enter)
E-mail address []: (Input your email address)
Do you agree to the Let's Encrypt Subscriber Agreement? [Y/n]: (Enter)
Press[Enter] to continue: (Enter)
Now work is done!
Very easy, isn’t it?

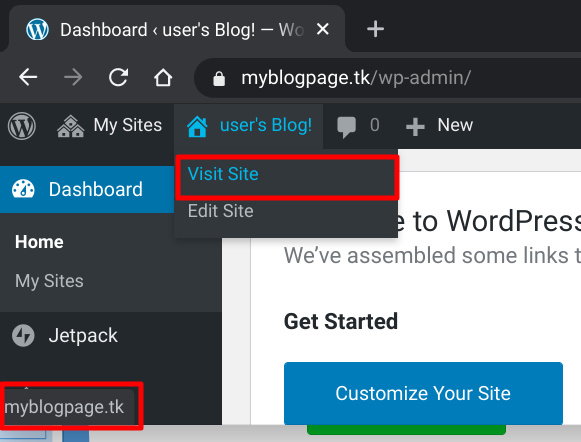
However, currently, browser will open with http URL when clicking Visit Site.
It’s myblogpage.tk, that means this is not https URL.

Fix this.
In SSH console of Lightsail instance run the following command.
sudo mysql -u root -p
Enter password: (enter password)
use bitnami_wordpress;
update wp_options set option_value = 'https://myblogpage.tk' where option_name in ('home', 'siteurl');
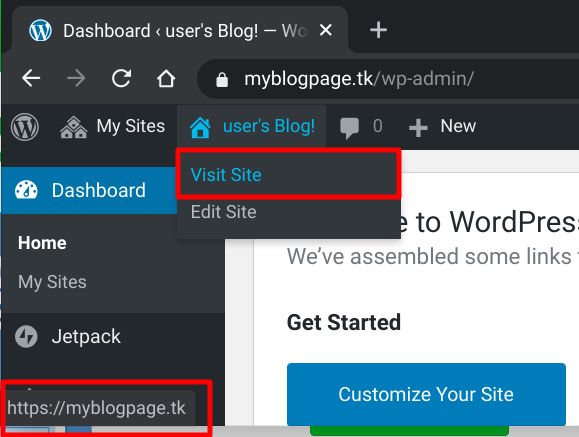
You replaced with HTTPS URL!
Now you can see that it starts with https://!

Conclusion
How was it?
Now you have done basic setup of your own blog server!
Well done!
Let’s enjoy blogger life together!


Comments