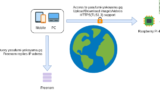
I achieved to activate HTTPS on apache2 on Raspberry Pi 4!
Nowadays HTTPS is commonly famous. Chrome shows warning if you are accessing to HTTP site. So I also want to activate HTTPS as well taking into consideration SNI, renewing certificate.
As you may know, HTTPS is the secure version of HTTP by SSL/TLS. * SSL is not recommended to use because of its vulnerability.
I know HTTPS! It’s encrypted HTTP, isn’t it?
Yes, it is right, but HTTPS also has the following advantages as well.
 - Prevention of stealing data
  Data is never seen by attacker because data is encrypted.
 - Prevention of manipulating data
  Data cannot be modified by attacker because data is encrypted.
  If data is modified user/server can detect.
 - Prevention of Impersonation
   Attacker cannot impersonate because HTTPS uses digital certificate.
Please keep in mind that only communication data is protected. Therefore, it does not make sense to protect your smartphone or server inside.
So, please do not think that activating HTTPS is not perfect. HTTPS are minimum requirement.
What do we need to activate HTTPS?
The following tasks are required: ✔ Getting global fixed IP address, setting it to router in your home ✔ Getting domain name ✔ Setting fixed IP address to Raspberry Pi 4 ✔ Setting domain name to apache2 ✔ Getting TLS certificate, setting it to apache2
Let me skip “Get global fixed IP address, set to router” because this task depends on which internet service provider you have contract and which router you have.
The following is not mandatory, but it is recommended for security enhancement. 👍 Disabling SSL and TLS1.0/1.1 👍 Limiting cipher suite with strong ones
Getting domain name
I think it is enough to get domain name of you as individual. – For company or organization to have expensive domain is better like .com/.org.
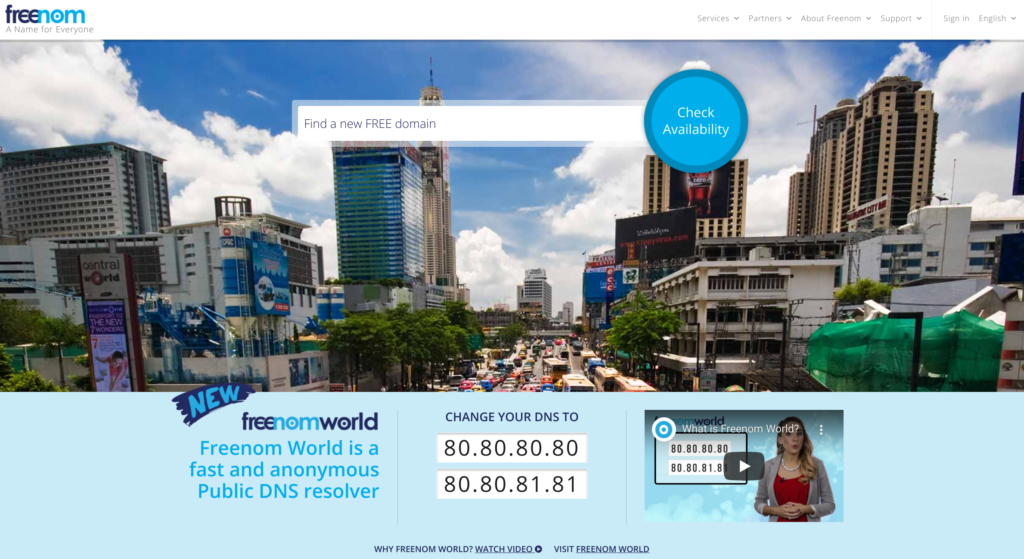
I use Freenom. https://www.freenom.com/ In this site you can get domain name for free for one year.
Source: https://www.freenom.com/en/index.html
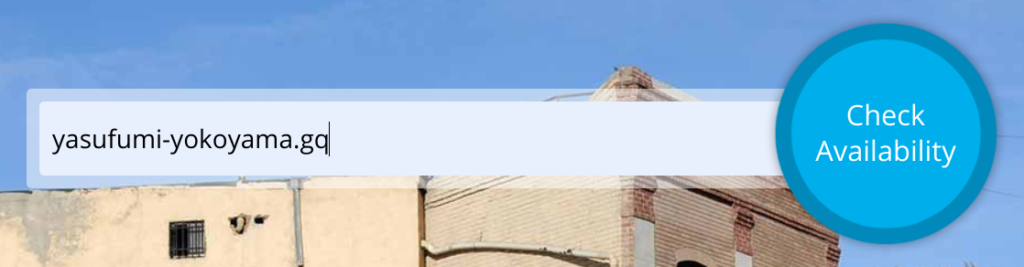
This time, I tried yasufumi-yokoyama.gq for my Raspberry Pi.
I could find that yasufumi-yokoyama.gq can be used. Other candidates such as .ml and .ga are also availabie.
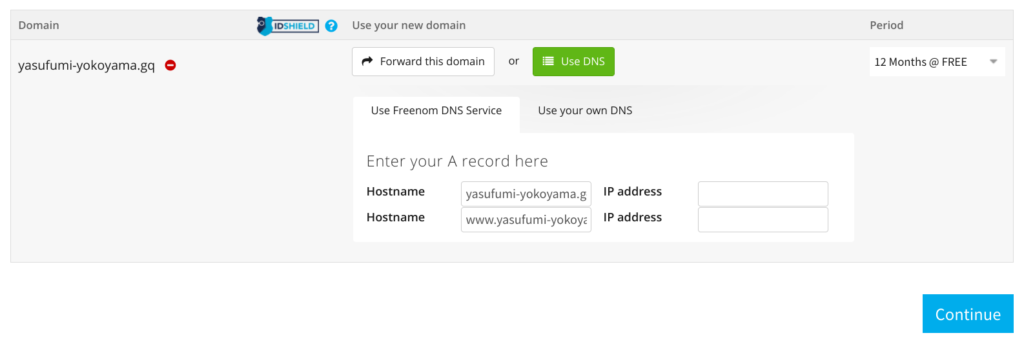
Press the Checkout button on this screen to get yasufumi-yokoyama.gq.
Go to the details. Set “Period” as “12 Months @ FREE” to get for free. Select “Use Freenom DNS Service” and put global IP address in IP address edit box. There are 2 edit box, one is without “www”, the other is with “www”. Click “Continue”.
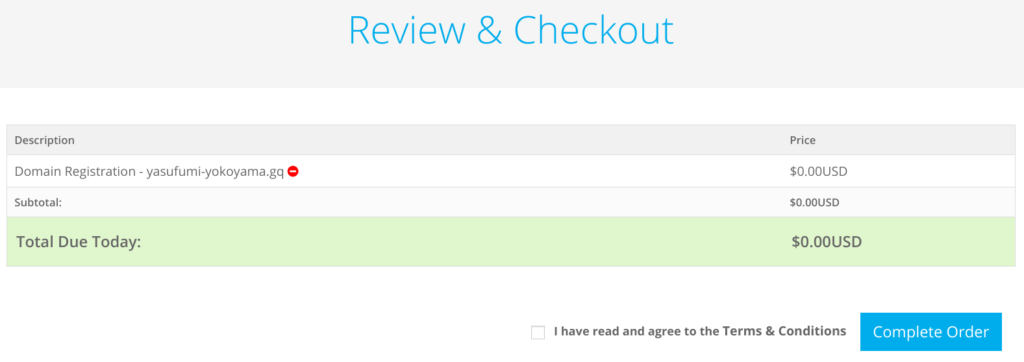
It is the final confirmation page. If you select “Complete Order”, domain acquisition is complete!
Setting fixed IP address to Raspberry Pi 4
This is easy. Just modify /etc/dhcpcd.conf. Please specify which IP address value you use.
pi@raspberrypi:~ $ sudo nvim /etc/dhcpcd.conf

# Add to the end of dhcpcd.conf below
# Set fixed IP address to Wi-Fi
interface wlan0
# Set 192.168.1.20 as fixed IP address
static ip_address=192.168.1.20/24
# Default gateway is router 192.168.1.1
static routers=192.168.1.1
# DNS will keep the IP address of the router for the time being
static domain_name_servers=192.168.1.1
Setting up domain names in apache2
All you have to do is editing /etc/apache2/sites-available/000-default.conf and restart apache2.
pi@raspberrypi:~ $ sudo nvim /etc/apache2/sites-available/000-default.conf

# Enter the domain name you just acquired in ServerName
ServerName yasufumi-yokoyama.gq

# Restart apache2
pi@raspberrypi:~ $ sudo systemctl restart apache2
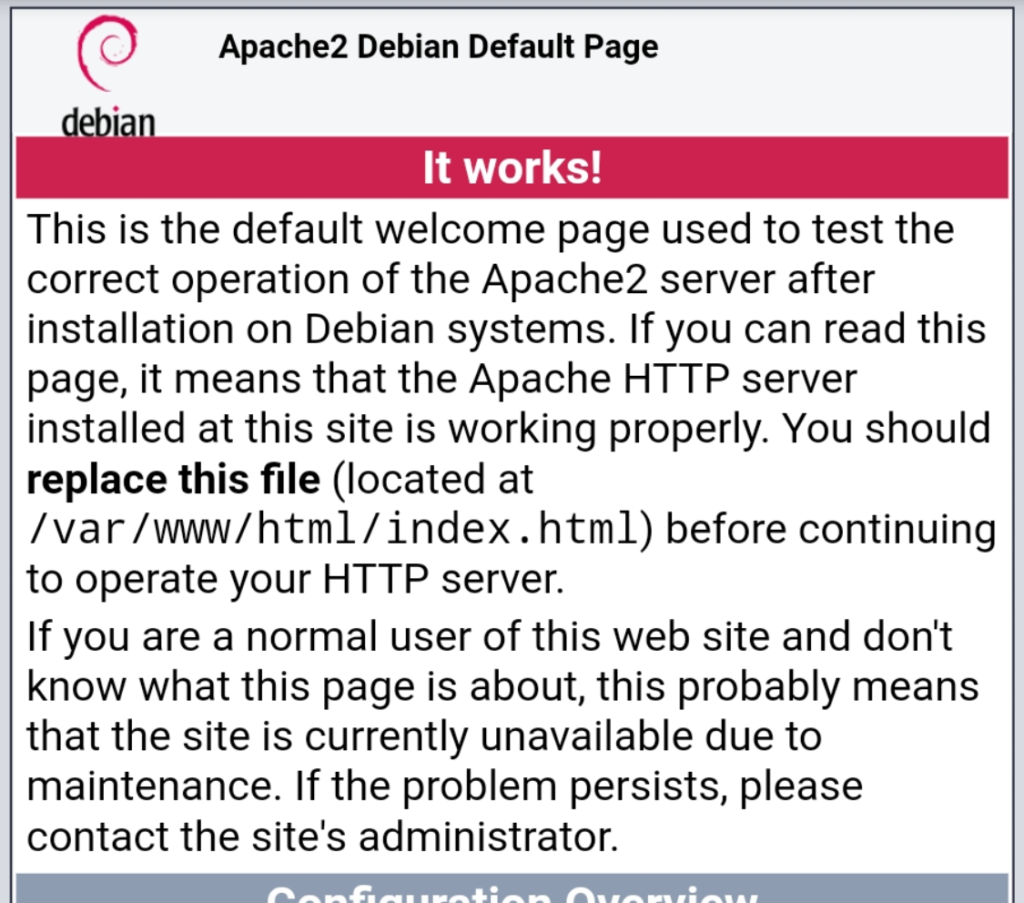
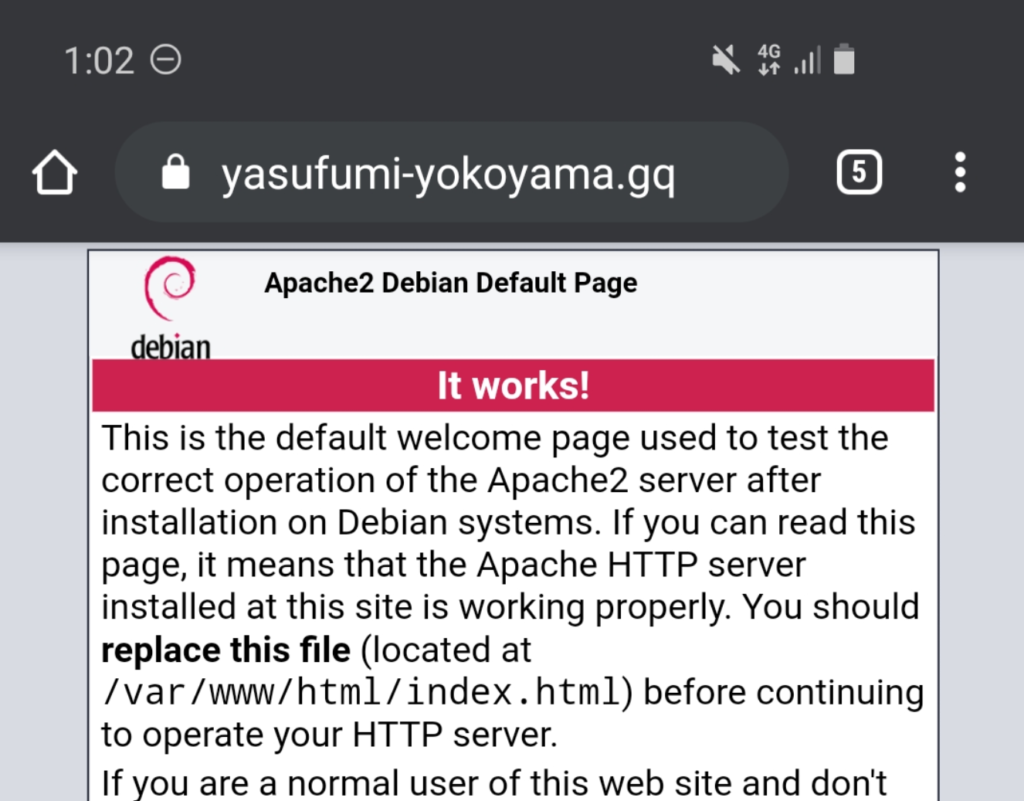
Let’s access raspberry Pi from your smartphone with http://yasufumi-yokoyama.gq. You should see such below page if your settings are proper.
If your smartphone is connected to your home Wi-Fi, you may see router settings. It is better to turn off Wi-Fi on your smartphone.
Obtaining a TLS certificate, setting it to apache2
In order to activate HTTPS, a digital certificate is required. By creating with your domaine name and deploying to your server, mission complete!
Let’s create certificates. You will be asked for your email address, so enter it. – There seems to be used for security notification, not for commercial purposes.
pi@raspberrypi:~ $ sudo certbot
Saving debug log to /var/log/letsencrypt/letsencrypt.log
Plugins selected: Authenticator apache, Installer apache
Enter email address (used for urgent renewal and security notices) (Enter 'c' to
cancel): abcde@hotmail.com
You will be asked if you agree to the license, so let’s agree.
You will be asked to set server settings to redirect HTTP request to HTTPS. It’s better to choose 2 because it is safer.
Please choose together or not to redirect HTTP traffic to HTTPS, removing HTTP access.
- - - - - - - - - - - - - - - - - - - - - - - - - - - - - - - - - - - - - - - -
1: No redirect - Make no further changes to the webserver configuration.
2: Redirect - Make all requests redirect to secure HTTPS access. Choose this for
new sites, or if you're confidential your site works on HTTPS. You can undo this
change by editing your web server's configuration.
- - - - - - - - - - - - - - - - - - - - - - - - - - - - - - - - - - - - - - - -
Select the enterprise numbe[1-2]r then[enter] (press 'c' to cancel): 2
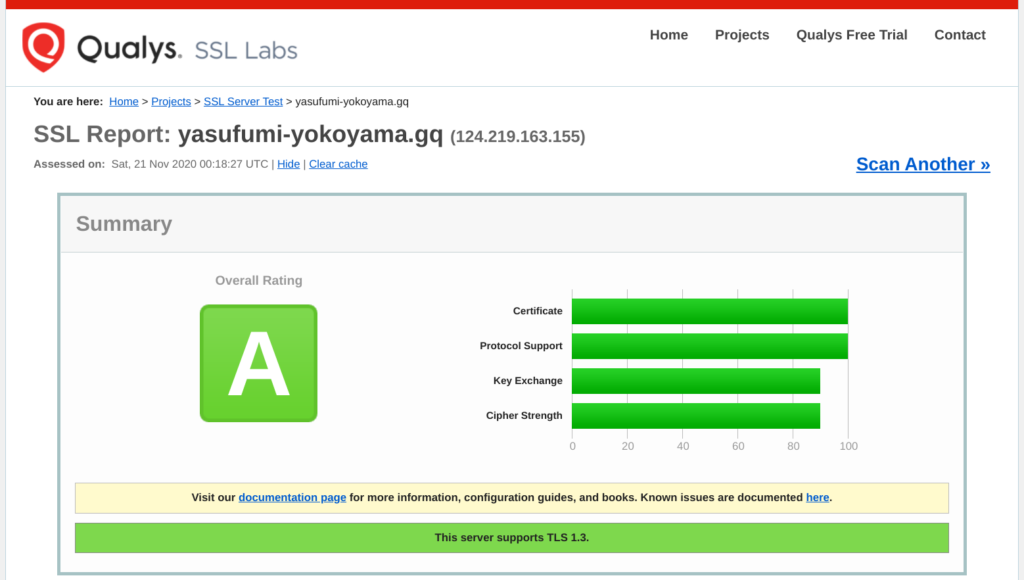
Congratulations! You have successfully enabled https://yasufumi-yokoyama.gq!
Next is to set to https://www.yasufumi-yokoyama.gq (with “www”). Let’s run the following command:
You should be able to access to both https://yasufumi-yokoyama.gq and https://www.yasufum i-yokoyama.gq URLs. Let’s try!
There is a padlock mark on the left side of the URL, and you can see that https page!
Renewing certificates
The expiration period of certificate you obtained is only 3 months, and after 3 months, chrome and Firefox will treat you as an unreliable site.
To avoid this, you need to renew your certificate for every 3 month.
It’s easy to do this. You can renew your certificate by doing “sudo certbot renew”!
Run it yourself regularly or put it in cron.
Disabling SSL and TLS1.0/1.1, limiting cipher suite
That’s it for activating HTTPS for now.
But default settings should be reviewed/changed. Older protocols and cipher suites have known vulnerabilities. – You may know SSL valnerabilities like heartbeat/poodle…
Security measures are a game with attackers, and it is not perfect just because you did this! We need to track latest security news/information and do measures to each web site!
In that sense, this is just starting line.
There are still security measures to be done.
Next time, I’ll remove the user pi provided by default and create an alternate user!
If you have any problems while trying it yourself, please feel free to send us a message on the inquiry form or SNS!
In below article I introduce each step how to establish nextcloud on Raspberry Pi 4! You should be interested in it too!
This web site uses cookie - small text files that are placed on your machine to help the site provide a better user experience.If you continue without changing your setting, we’ll assume that you are happy to receive all cookies on this website.OKNoPrivacy policy


Comments