Let’s get your original domain name and assign to your blog hosting server which is Lightsail!
I am sure you are interested in having your own blog page running on AWS because you are here! Let do it together!
The whole setup procedure is shown in below article.
I assume you already have AWS account that links your Amazon account.
Although you don’t have, don’t worry, getting account is very easy, so get it!
Paid domains vs free domains
As you may know there are two options to get a domain name: paid and free.
I recommend paid domain.
The reasons are,
- Famous name such .com / .org are usually non-free.
- Many free domains are minor and may be assumed as unreliable.
- The free domain .tk could not register sitemaps in Google Search Console.
- I failed Google Adsense certification many time with .tk and I passed it with .org.
I think that free domain is enough to write a diary that only you can see, but if you have motivation to open to public and want someone to read it or to monetize, paid is recommeded.
This site domain “linuxfun.org” is about 1 USD per month because it is 14 USD (excluding tax) per year.
– Get on Google Domains
Very cheap, isn’t it?
In this article, I’ll show you how to get both paid and free domains.
How to get paid domain name
Paid domains are offered in various places, but we’ll discuss them here in Google Domains.
Input domain name which you want to get and click Get it.
Let’s assume myblogpage.org.
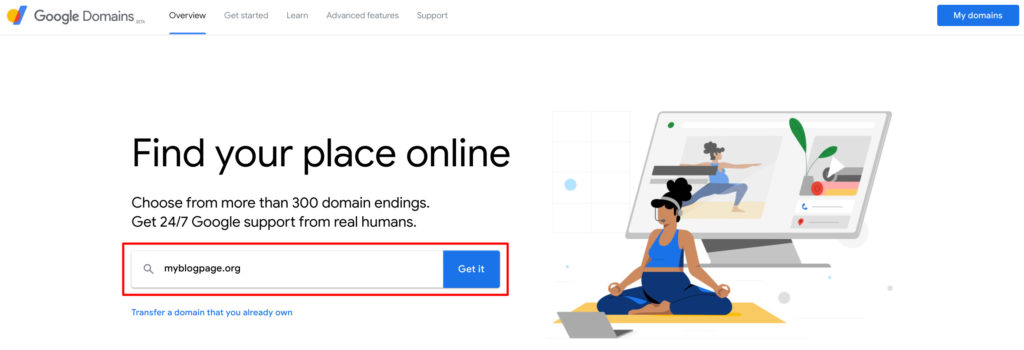
There seems that no one has used this domain name yet and is available.
Click the cart button on the right to add it to your shopping cart.
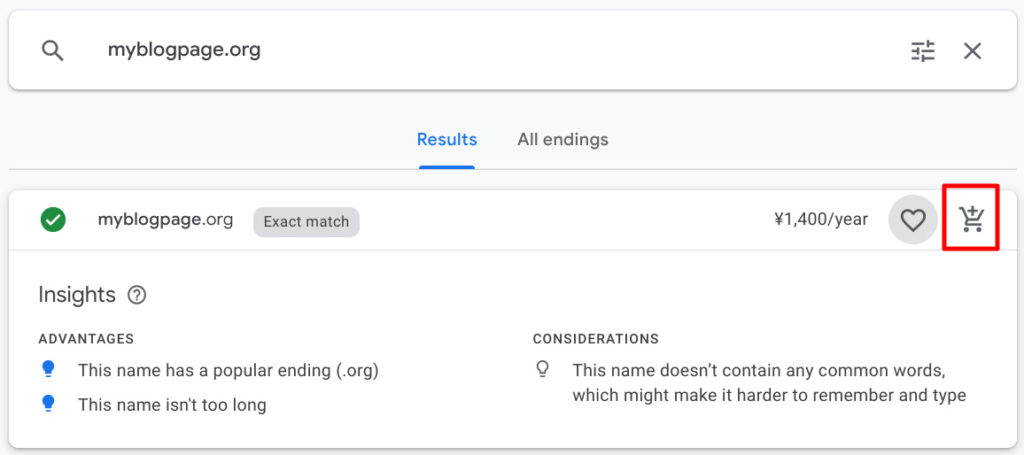
If this name is already used by someone and you need to change domain name, an alternative candidate are shown below of the bottom of the screen.
Click the cart button.
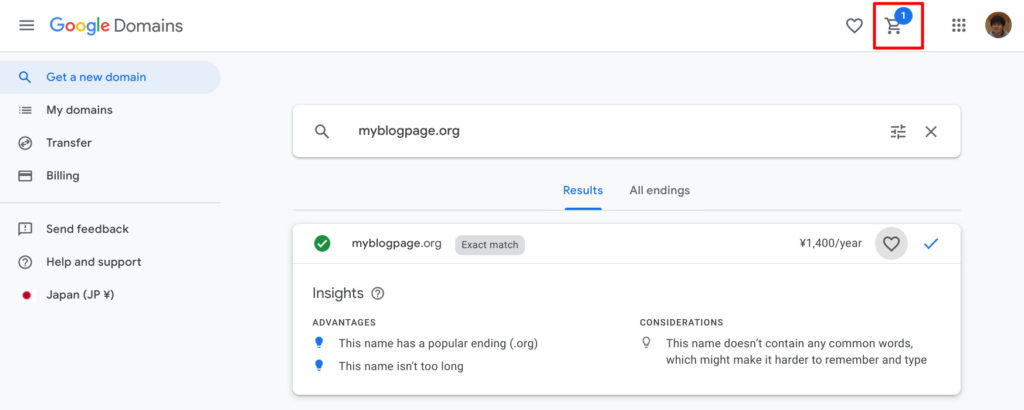
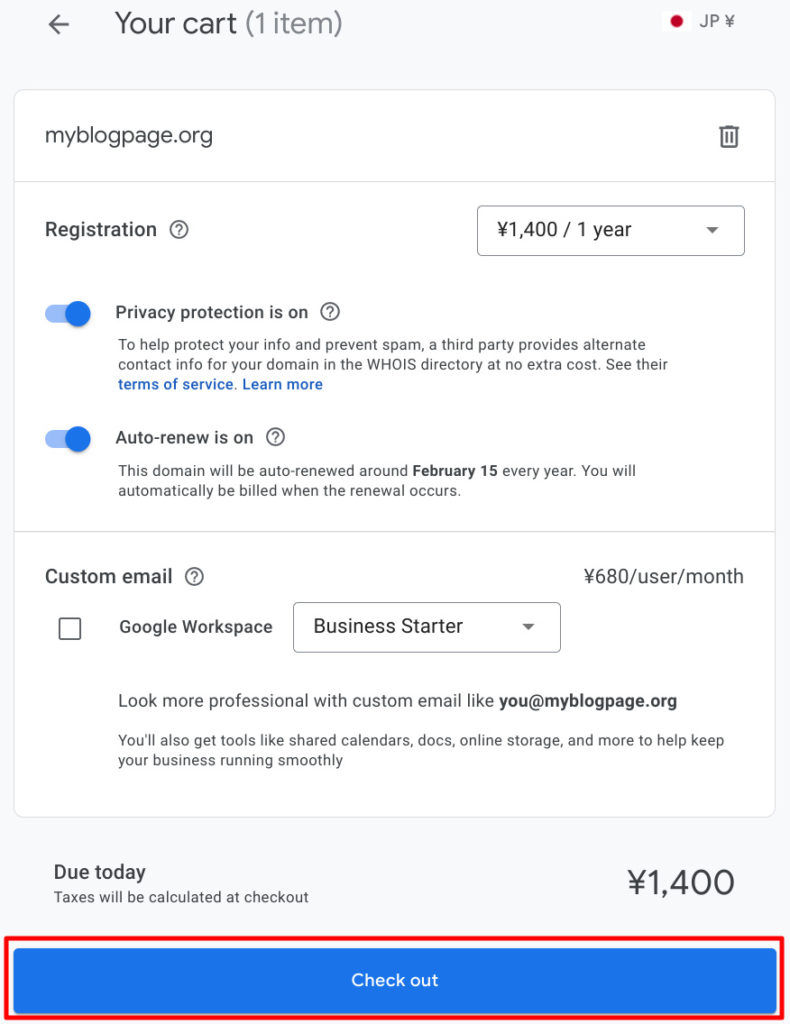
If there is no problem with the domain name, Check out to proceed payment.
When your payment completes successfully, you will receive email to your Google account.
Below image is an email when I purchased the domain name of this site.
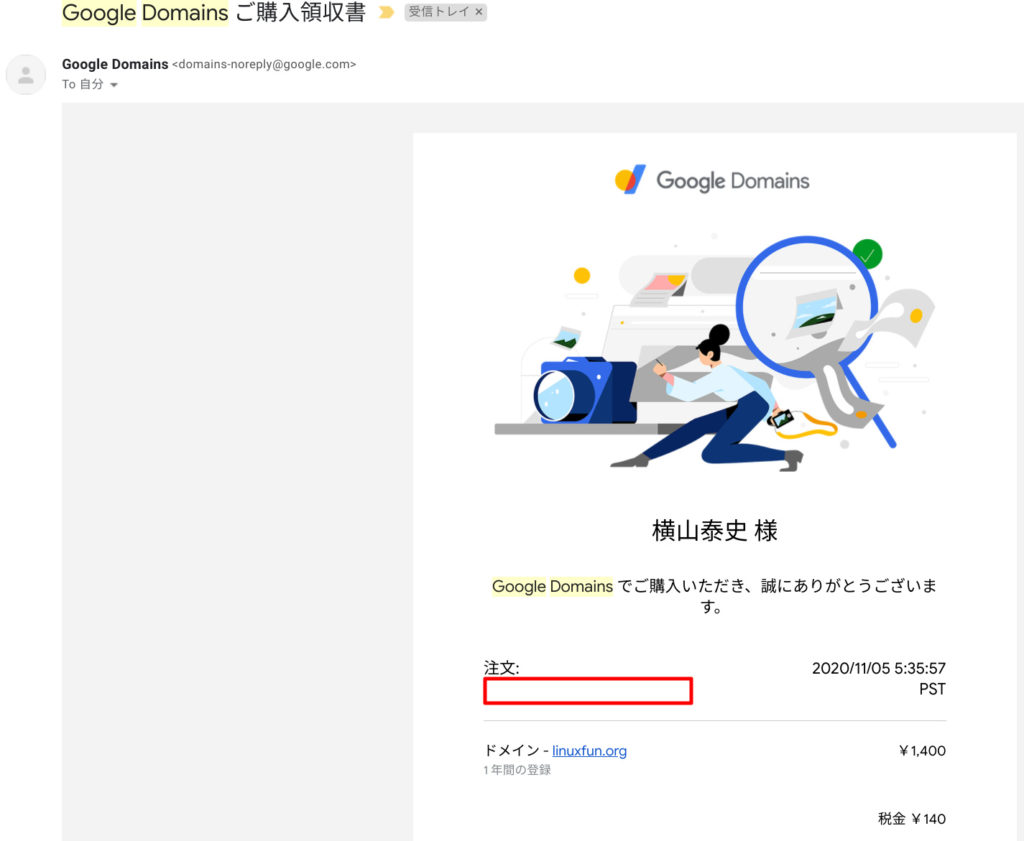
That’s it!
Next, proceed to connect this domain name to your Lightsail instance here.
How to get free domain name
We can also get free domains in various sites, here I used Freenom.
Input the domain name you want and Check Availability to see if you can get this domain name.
By the way, what is free is a less well-known domain such as .tk .gq .ml.
Let’ use myblogpage.tk.

It’s available. Checkout.

Choose 12 Months @ FREE and choose Continue.

Once you have checked the license and click Complete Order.
Then getting domain name is done.
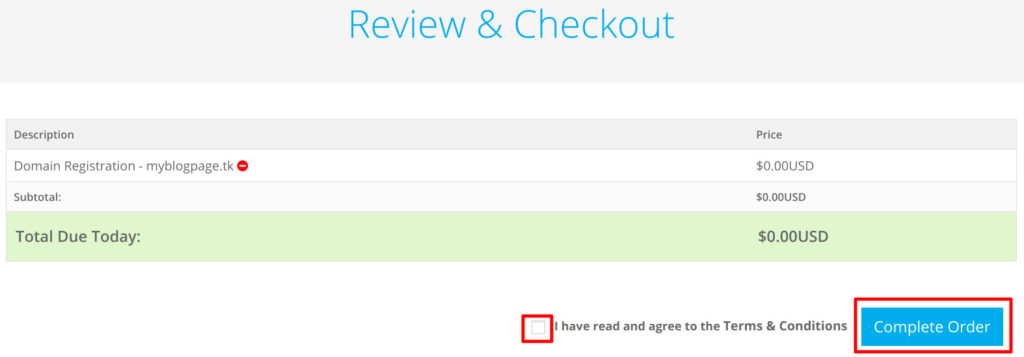
If such a screen appears, domain name has been acquired successfully.
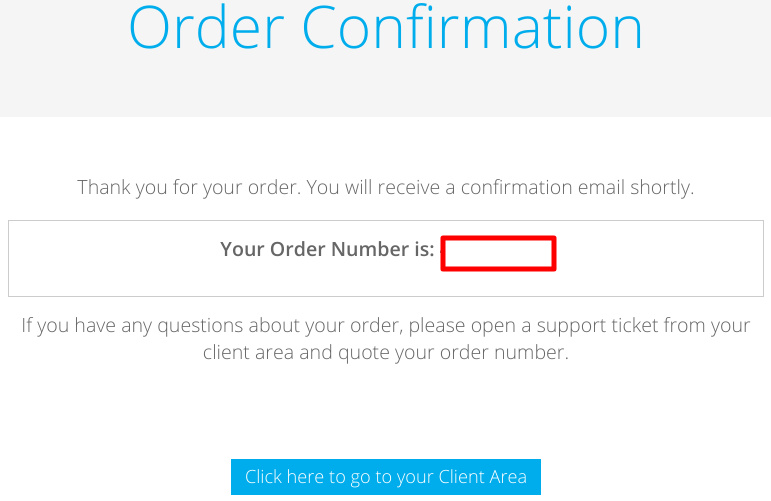
Next, you will link the domain name to Lightsail here.
Connecting acquired domain name to Lightsail instance
Lightsail has DNS server function, so let’s use it.
Choose Networking and Create DNS zone in Lightsail’s Instance Management console.

Input domain name just before you got and select Create DNS zone.
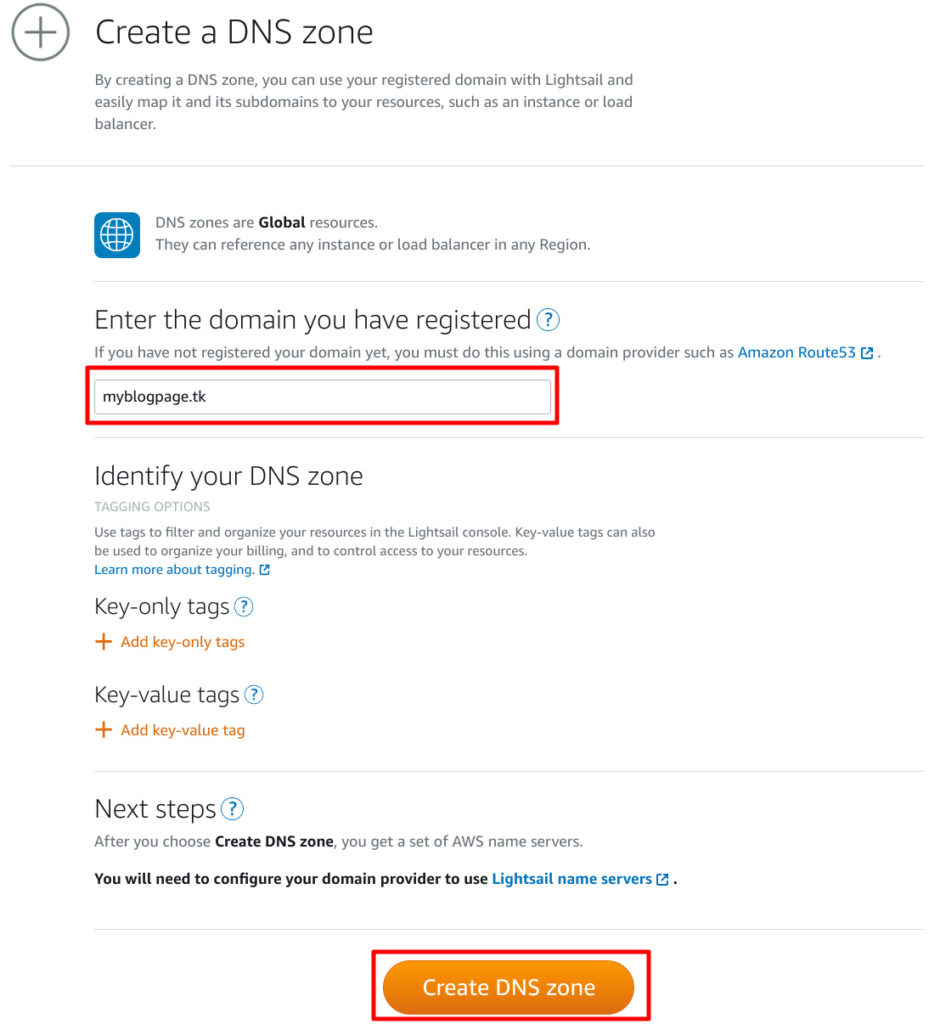
Select Add record, and then add a DNS record.
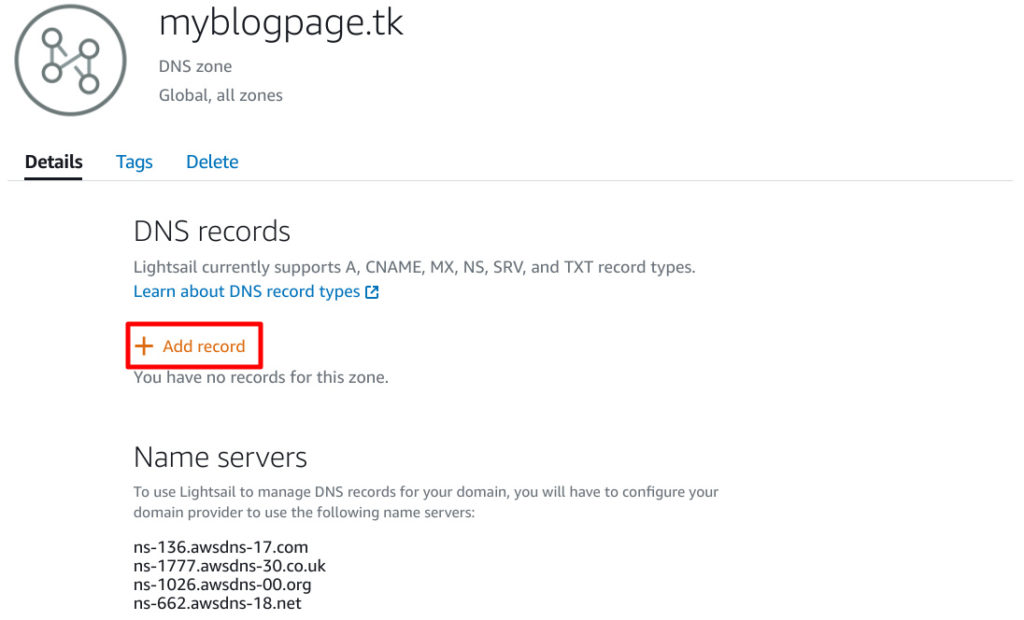
Please add it as follows.
If you haven’t obtained a static IP address yet, please refer to this article.
| Record type | Subdomain | Value |
| A | @.myblogpage.tk | (Static IP address created in the previous procedure) |
| A | www.myblogpage.tk | (Static IP address created in the previous procedure) |
Next, set lightsail’s DNS server information to domain name provider such as Google Domains or Freenom.
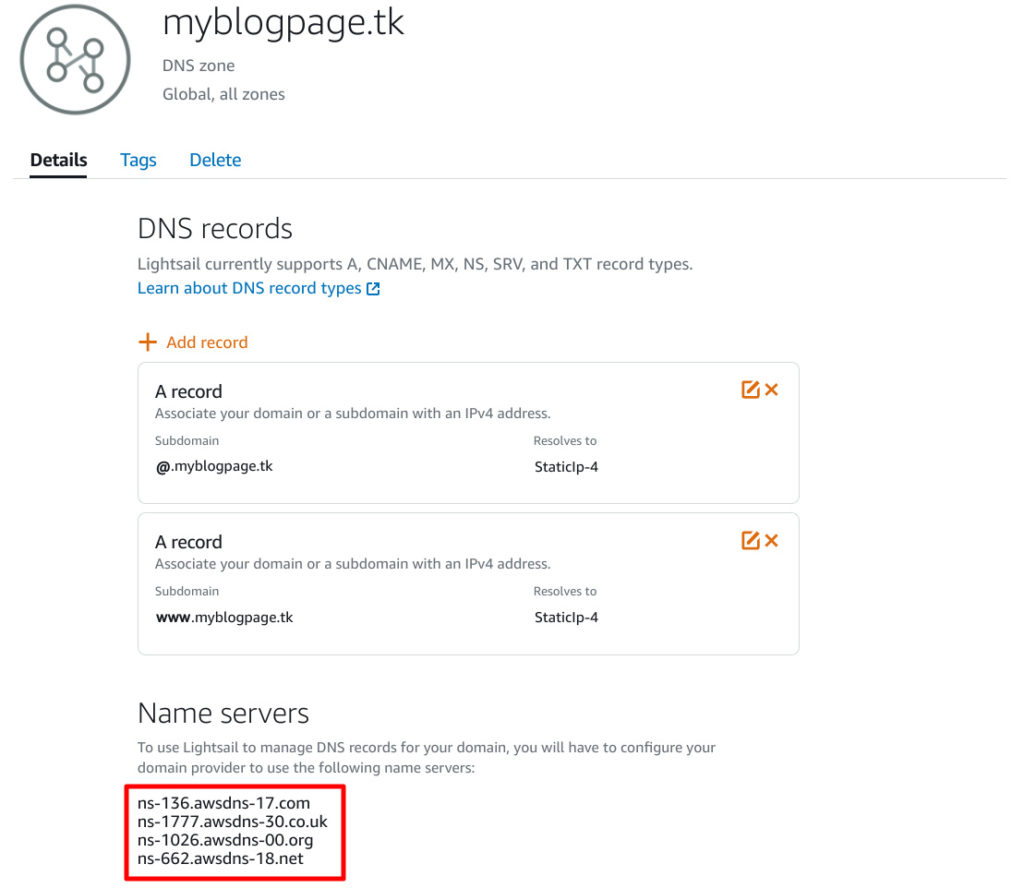
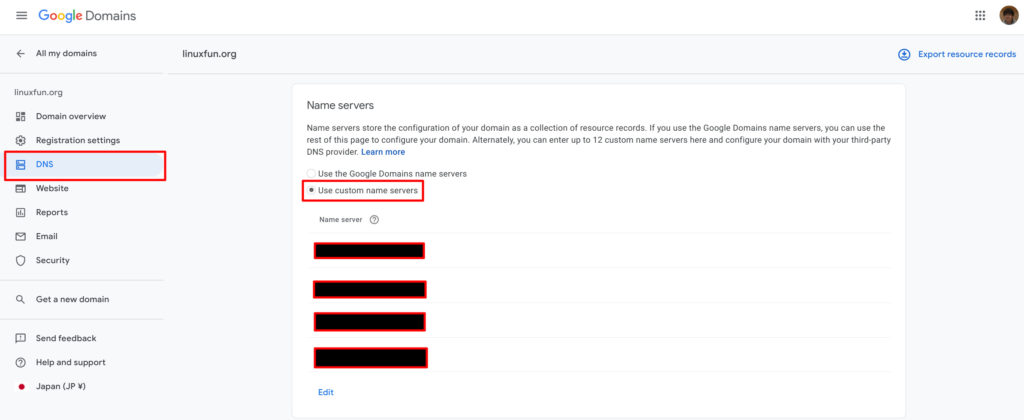
For Google Domains, input them here.
DNS -> Select Use custom name servers then input 4 name servers in each editbox.
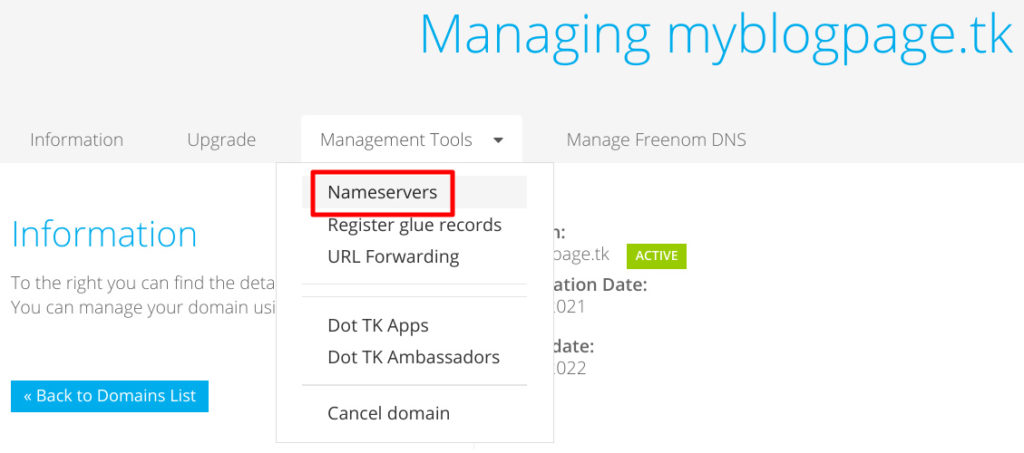
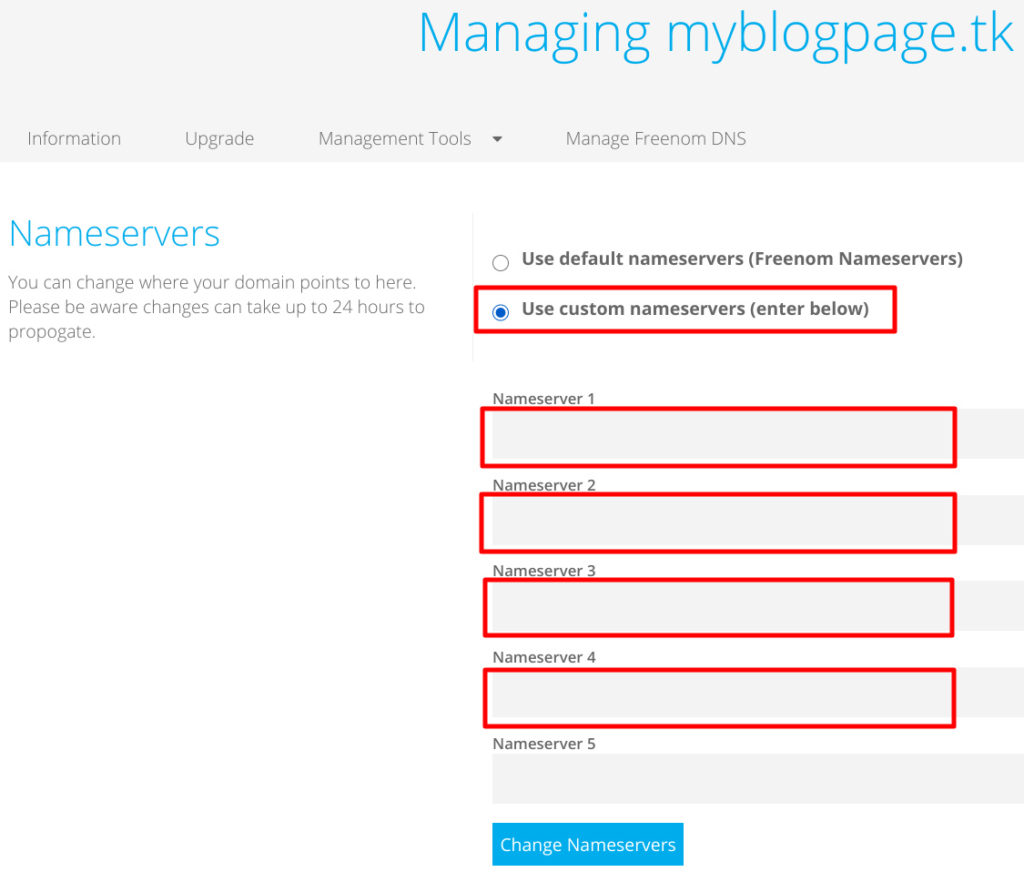
For Freenom, input them here.
Select Management Tools and Select Nameservers in the Domain Name Management page.
Select Use custom nameservers (enter below) and enter 4 name servers from the top.
The last one is empty and OK.
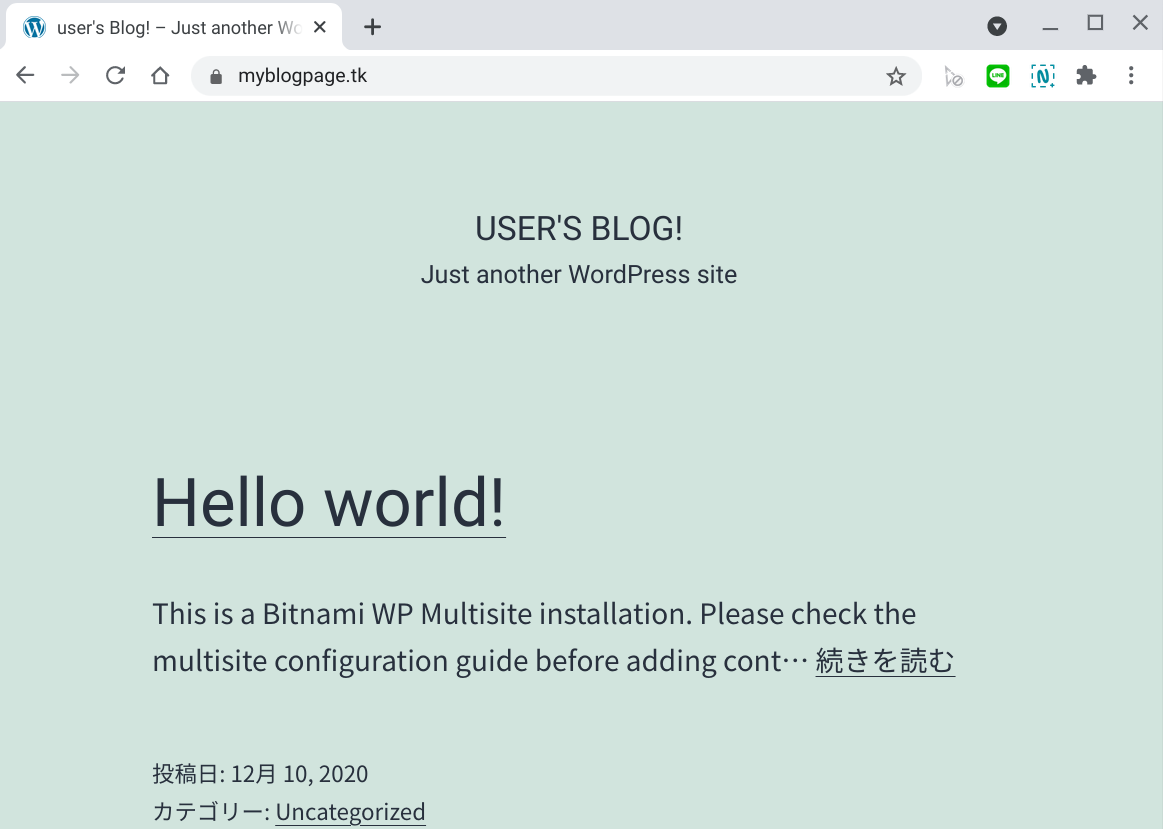
If you set it up so far, you will be able to access it with a domain name.
Let’s access http:// myblogpage.tk/
We got it!
However, the URL displayed in the address bar is a little strange.
– xxx.xxx.xxx.xxx.xip.io
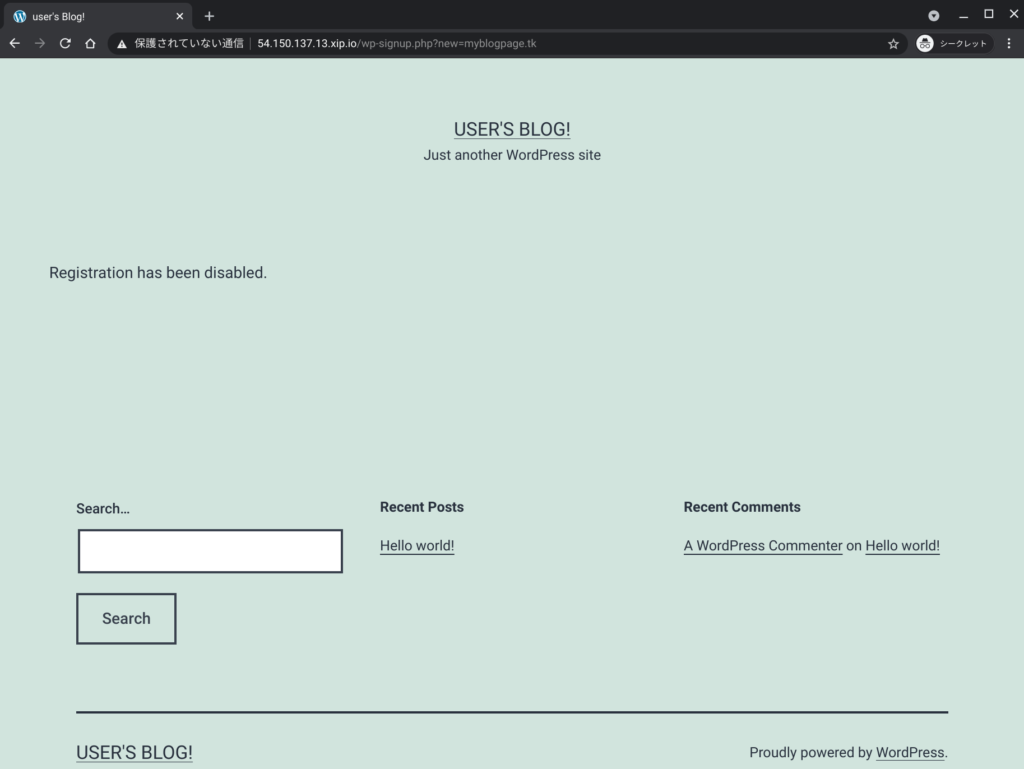
This article explains how to fix it.
Conclusion
How was it?
The domain name is 1 USD per month… it’s much easier to get it!
It’s really inexpensive for personal bloggers!


Comments