Let’s setup your original domain name to apache2 running on Raspberry Pi 4!
I believe you are interested in hosting your server.
If you are not, closing this page avoids wasting time.
What is needed
Below procedure are needed to setup domain name on Raspberry Pi 4.
☑Obtaining global IP address and assigning to your router
☑Obtaining domain name
☑Assigning fixed IP address to Raspberry Pi 4
☑Setting domain name to Raspberry Pi 4
Let me skip Obtaining global IP address and assigning to your router because this step depends on your environment.
Obtaining domain name

If your site needs credit such as company site or hosting Google Adsense, you need to get paid domain name.
But I think free domain name is enough for Raspberry Pi 4 because in most cases Raspberry Pi 4 is used for personal.
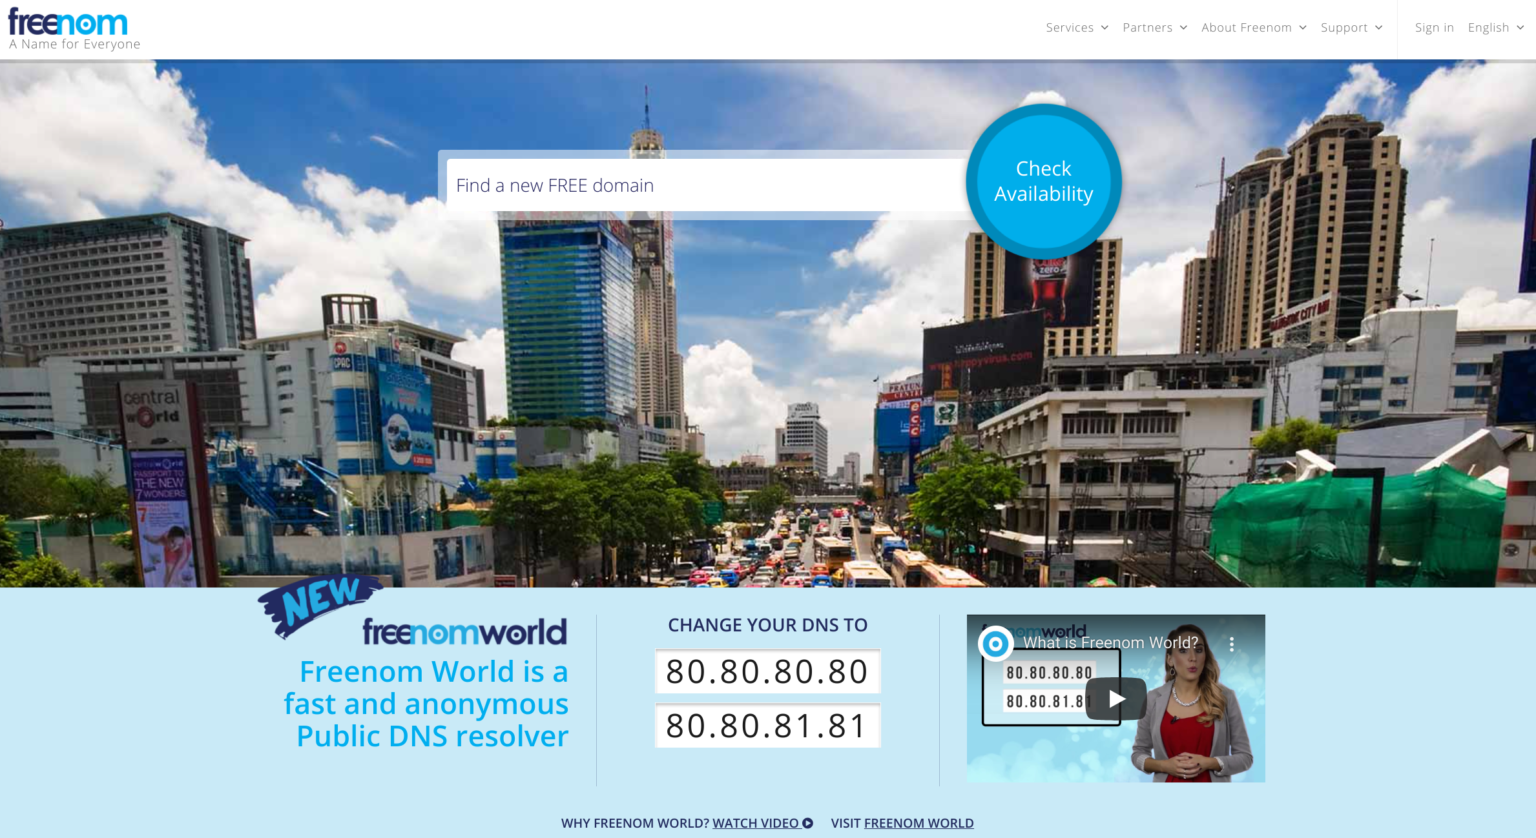
I use Freenom.
https://www.freenom.com/
You can get free domain name which ends with .tk/.tq as well as paid domain name which ends with .com/.org/etc.
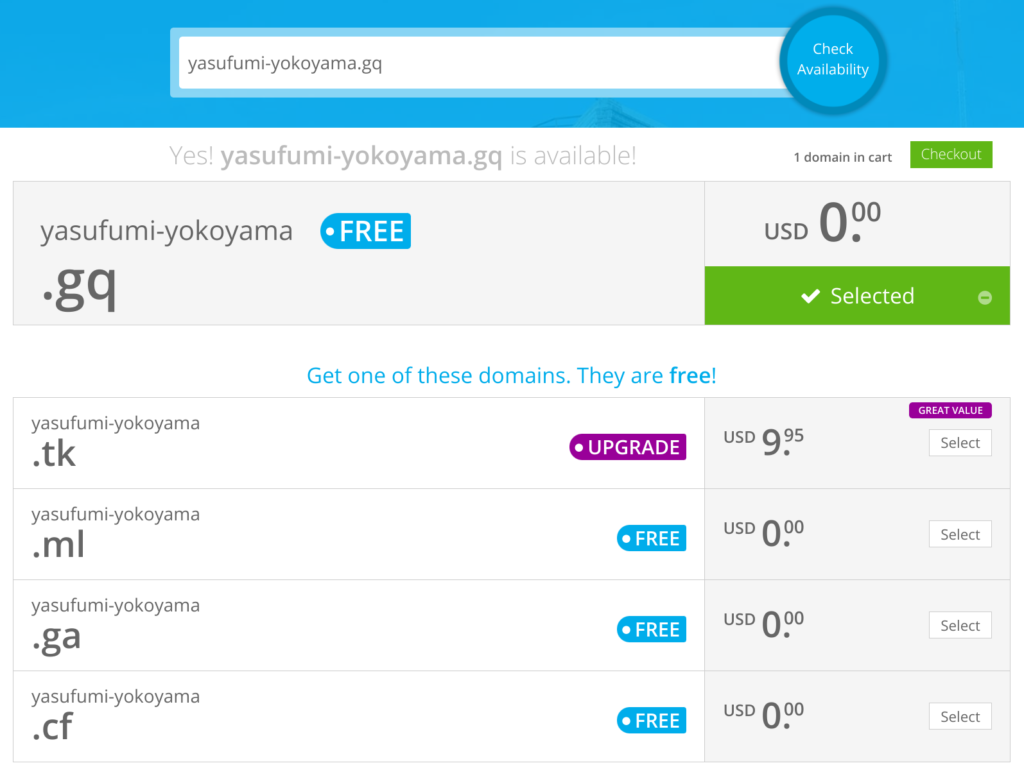
I will show with example of yasufumi-yokoyama.gq which is my domain name.

You can see domain name you input is available or not.
This site shows other candidates like shown below.
If you click “Checkout”, you can proceed to obtain domain name.
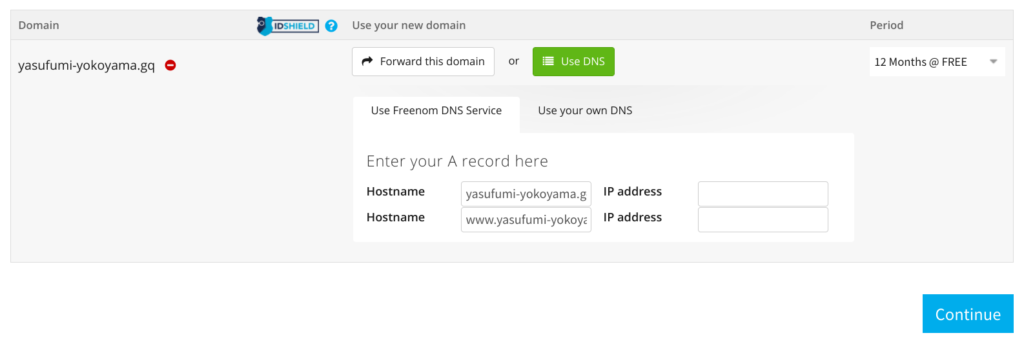
Moving configuration view.
Period should be 12 Months @ FREE to use at least 1 year for free.
Choose Use Freenom DNS Service and input your global IP address you got in advance.
You see 2 input fields because usually domain name has 2 patterns “without www” and “with www”. Put the same IP address to them.
Click Continue.
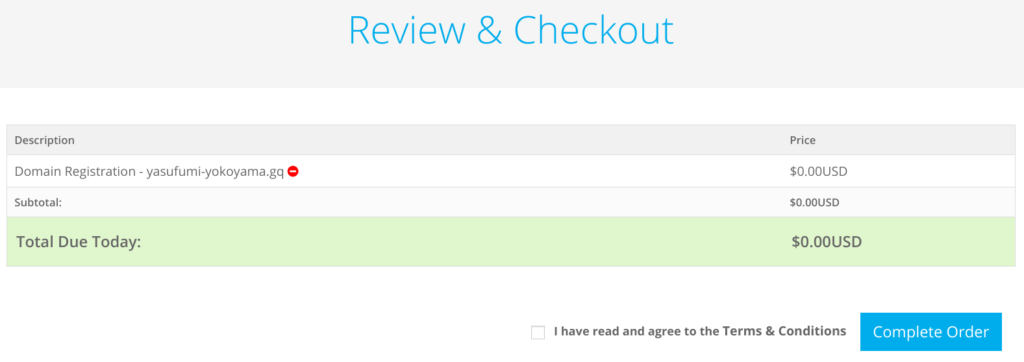
This is final review.
If everything is OK, please do Complete Order to finish.
Assigning fixed IP address to Raspberry Pi 4

This is a piece of cake!
Just configuring /etc/dhcpcd.conf in Raspberry Pi 4.
You need to decide which IP address to us.
Setting change will be effective after rebooting.
$ sudo vim /etc/dhcpcd.conf

# Below contents are added to bottom of dhcpcd.conf
# Assiging fixed IP address to Wi-Fi device
interface wlan0
# Assiging 192.168.1.123
static ip_address=192.168.1.123/24
# Default gateway is 192.168.1.1 which is router
static routers=192.168.1.1
# DNS is 192.168.1.1 which is router as well
static domain_name_servers=192.168.1.1
Setting domain name to Raspberry Pi 4

This is also easy.
You only need to restart apache2 after editing /etc/apache2/sites-available/000-default.conf.
sudo vim /etc/apache2/sites-available/000-default.conf

# Input your domain name to ServerName
ServerName yasufumi-yokoyama.gq

# apache2を再起動する
$ sudo systemctl restart apache2
Now you access your domain name from your smartphone.
If configuration is proper you can see top page like below.
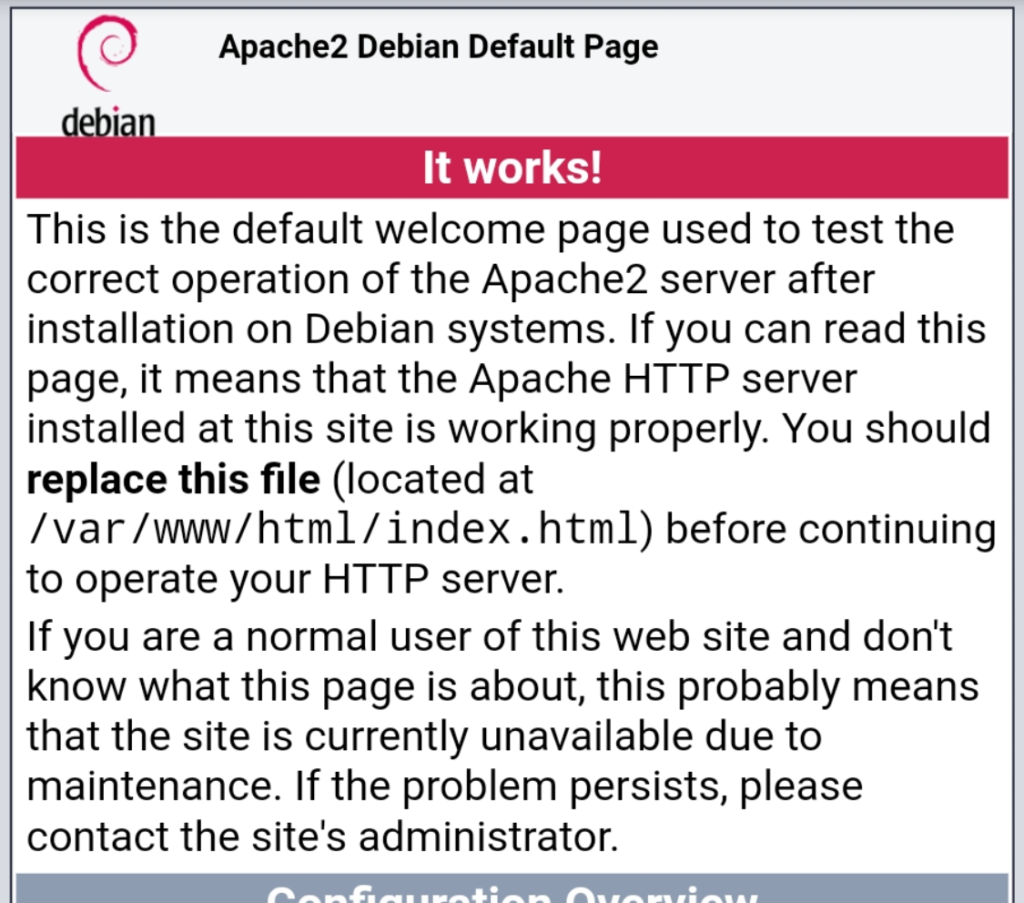
If your smartphone is connected your home Wi-Fi, you may see router configuration page.
So it’s better to set off Wi-Fi on your smartphone.
If you face this issue please resolve by referring this article.
Conclusion
How was it?
You have access from internet to your Raspberry Pi 4!
Next I explain how to enable HTTPS which seems to be done with domain name setting!

In below article I introduce each step how to establish nextcloud on Raspberry Pi 4!
You should be interested in it too!


Comments
Hello to all, how is the whole thing, I think every one is
getting more from this web page, and your views are pleasant in favor of new visitors.
Thank you for seeing my blog page!
I continue posting something interesting!
Wow, this paragraph is fastidious, my sister is analyzing these kinds of things,
thus I am going to convey her.
Thank you for saying so!
Do you mind if I quote a couple of your posts as long as I provide credit and
sources back to your site? My website is in the exact same area of interest
as yours and my users would really benefit from some of the information you present here.
Please let me know if this ok with you. Thanks a lot!
Hello.
Yes, it’s Okey!
Thank you!
Excellent pieces. Keep writing such kind of information on your
blog. Im really impressed by it.
Hello there, You have done an incredible job. I will definitely digg it and for my part
recommend to my friends. I am sure they will be benefited from
this website.
Thank you for saying so!