約 2 分で読めます。
AWSのサービスであるLightsailのインスタンスに固定IPアドレスを割り当てましょう!
このページに来たということは、AWSでのサーバー運営に興味がある方だと思います。
その前提で説明していきますね!
ブログ構築作業の全体像はこちらに載せています。
なお、コレ以降はAWSのアカウントを持っていることを前提に書いていきます。
固定IPアドレスの取得、割り当て
では早速やっていきましょう。
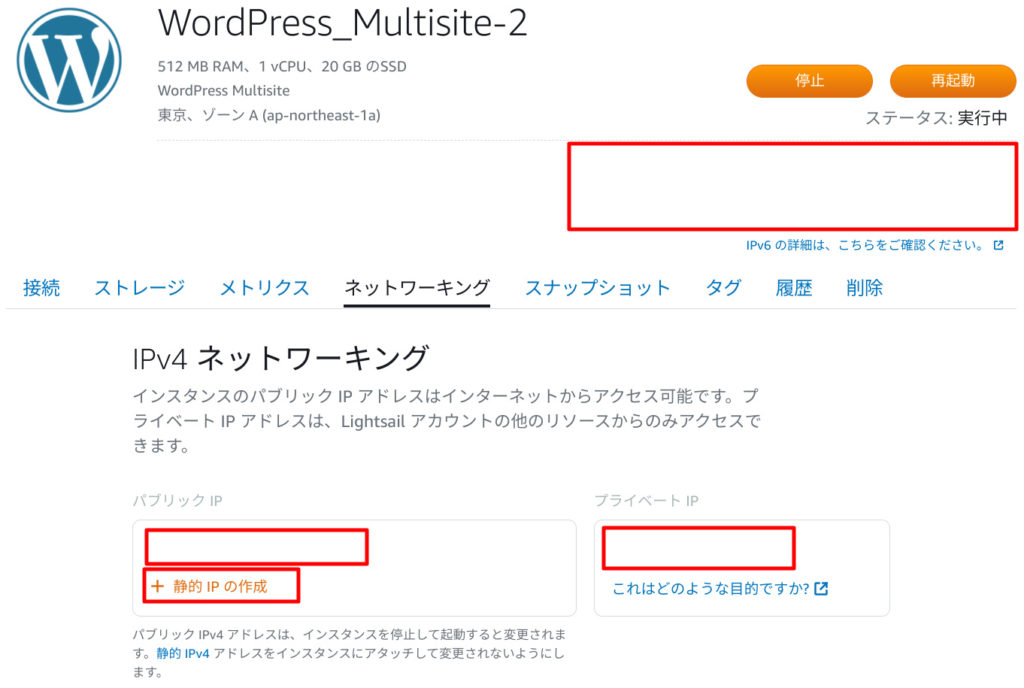
まずLightsailの管理画面に行きます。
対象のインスタンスを選択。
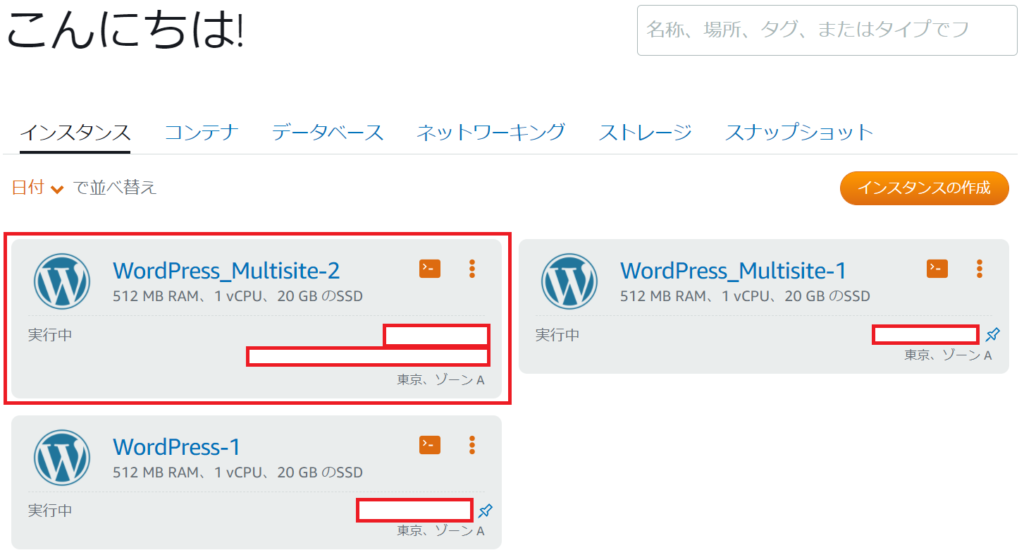
ネットワーキングを選択。
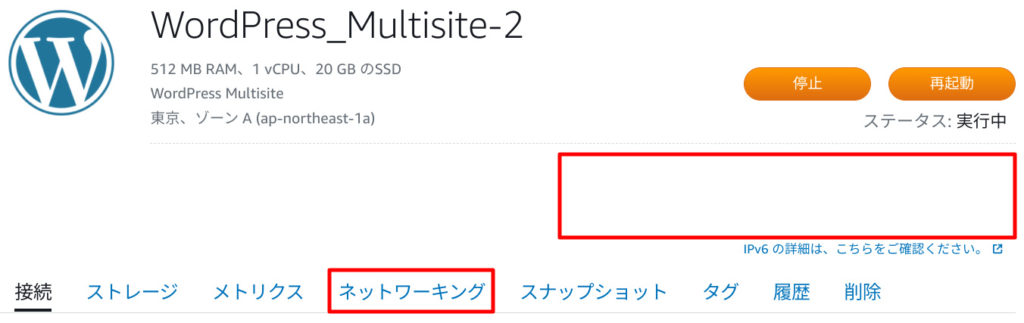
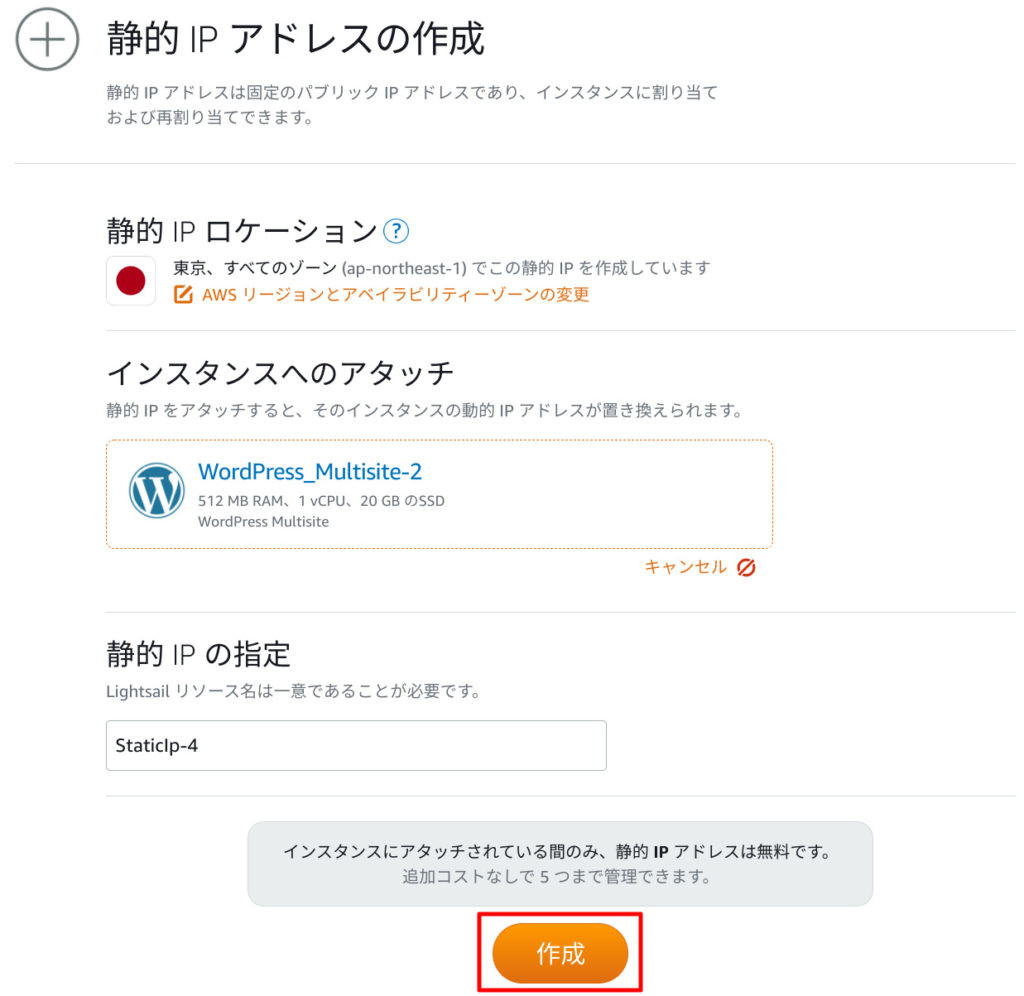
静的IPの作成を選択。
何も変更せずに作成でOKです。
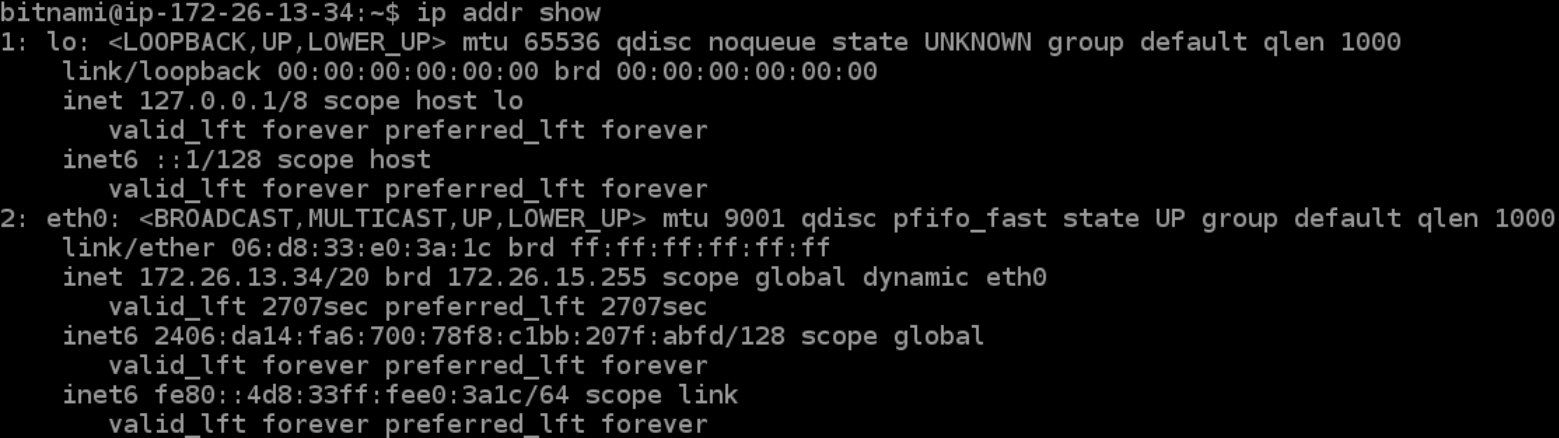
割り当てられたIPアドレスが表示されます。
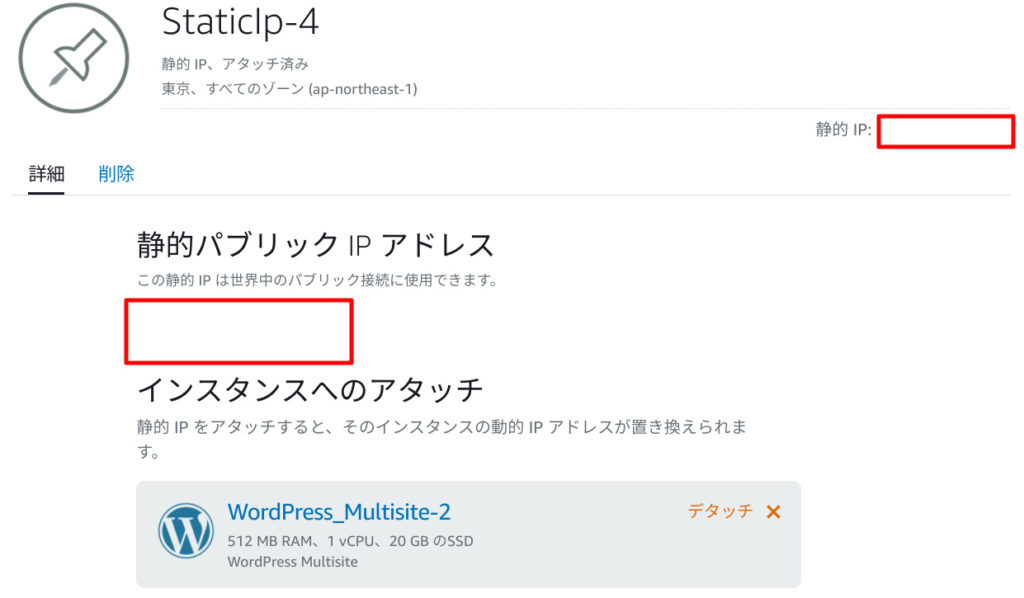
割り当てられたIPアドレスを使って
http://<IPアドレス>
でアクセスしてみましょう。
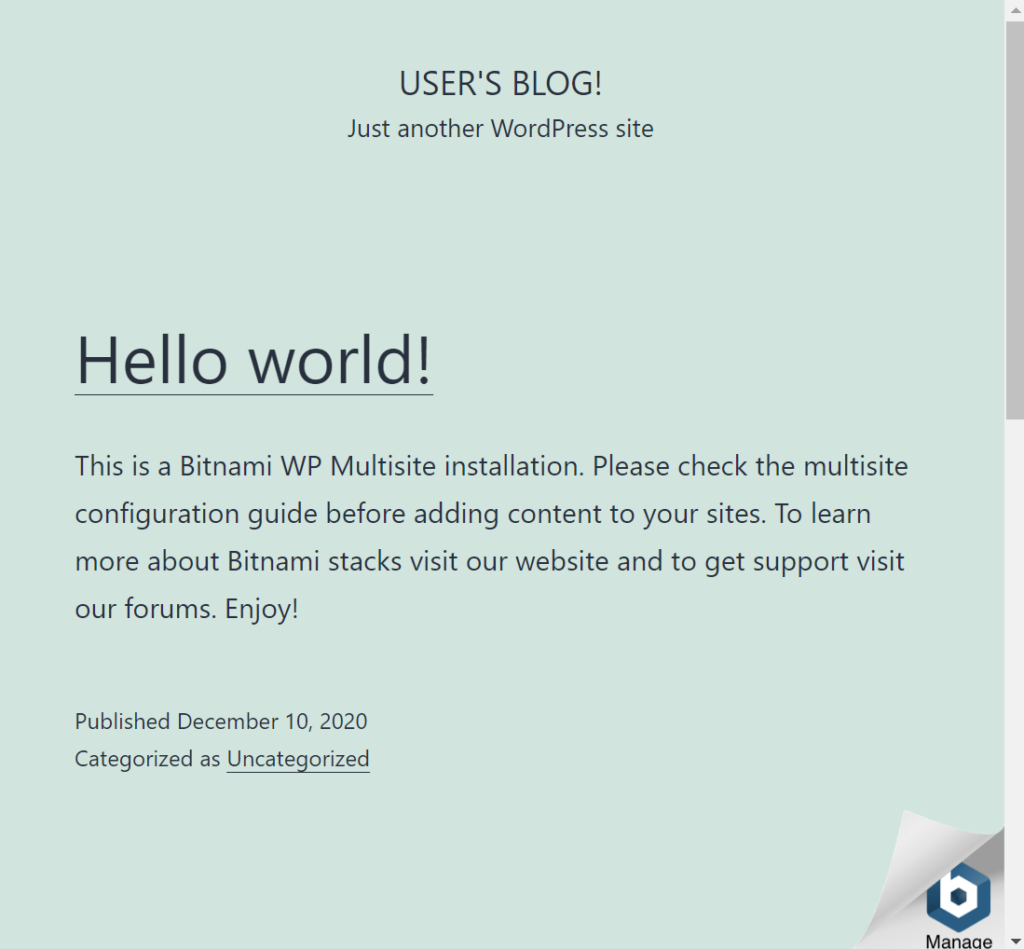
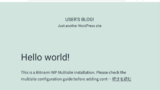
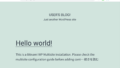
ページが表示されると思います。
以下のような感じで表示されればOKです!
終わりに
いかがでしたか。
今回はサクッと終わりましたね!
お次はドメインの取得をこの記事で解説しています!

Comments