Let setup blog server WordPress on Lightsail which is one of service provided by AWS!
I am sure you are interested in having your own blog page running on AWS because you are here! Let do it together!
The whole setup procedure is shown in below article.
I assume you already have AWS account that links your Amazon account.
Although you don’t have, don’t worry, getting account is very easy, so get it!
Making instance of Lightsail
Now let’s create an instance of Lightsail.
– instance = virtual machine running on AWS
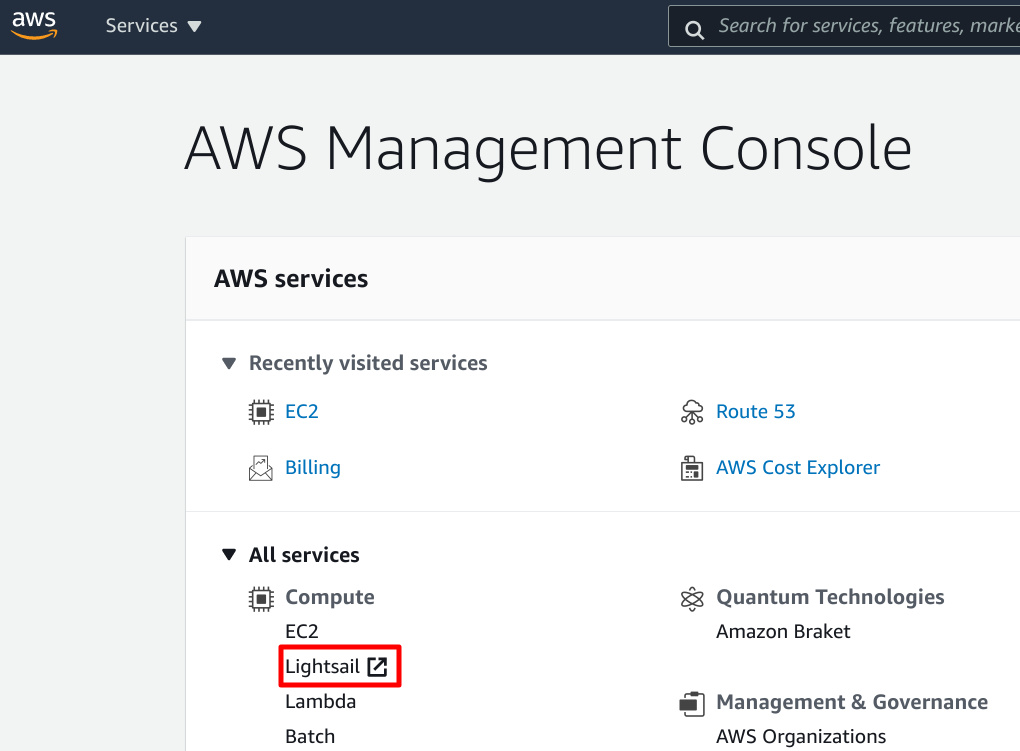
Go to AWS Management Console and select Lightsail.
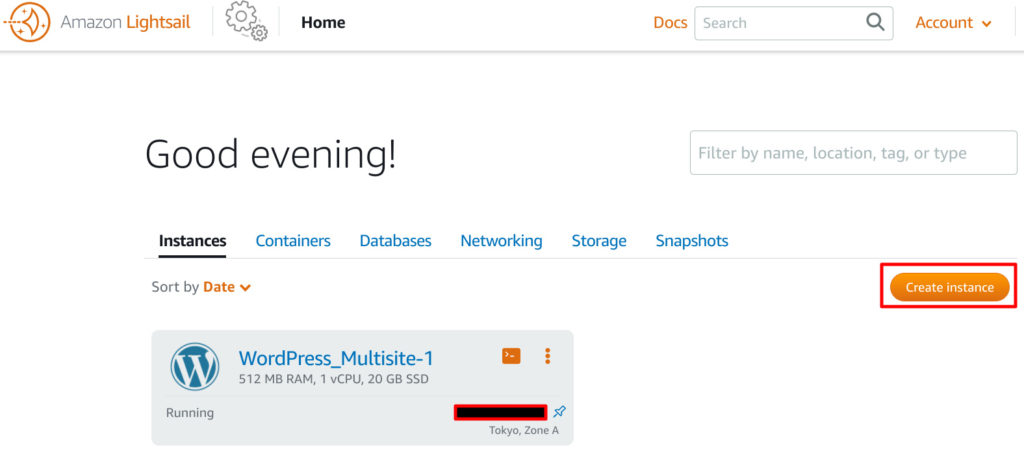
Jump to lightsail’s list of instances. Select Create Instance.
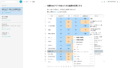
Select Linux/Unix and WordPress Multisite.
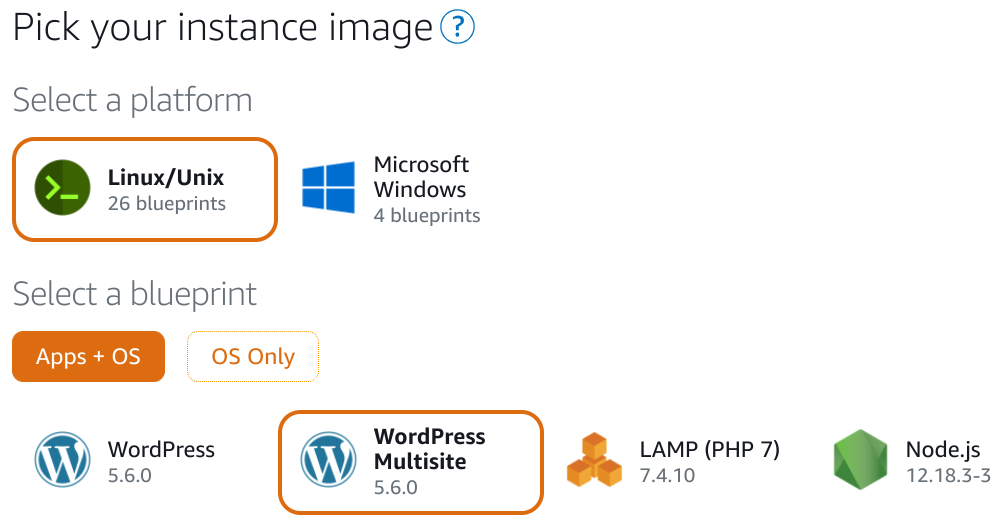
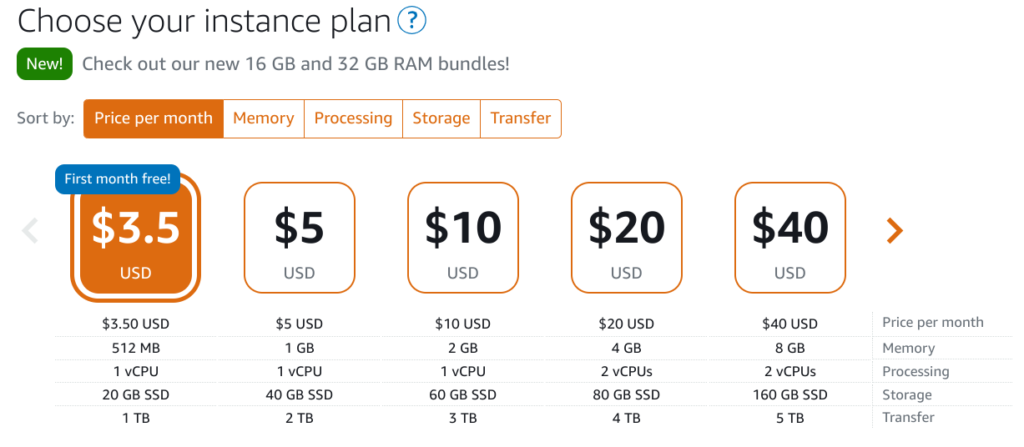
The cheapest $3.5USD is enough for starter.
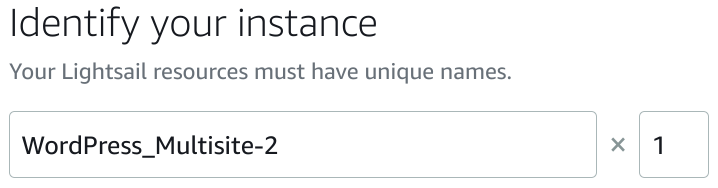
Give the instance name as you like.
If all fields are correct, Create Instance.
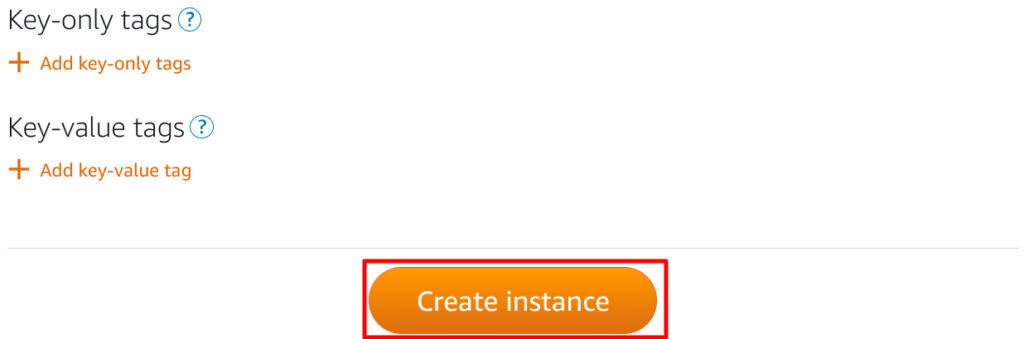
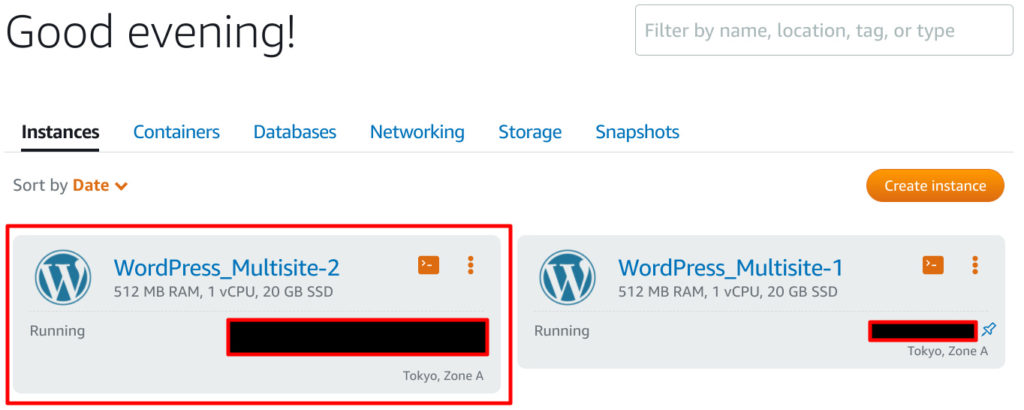
Okey! Your instance was created!
Updating packages to the latest
Let’s update packages up-to-date.
Log in with SSH.
In the image of below, click the icon like the console in the upper right.
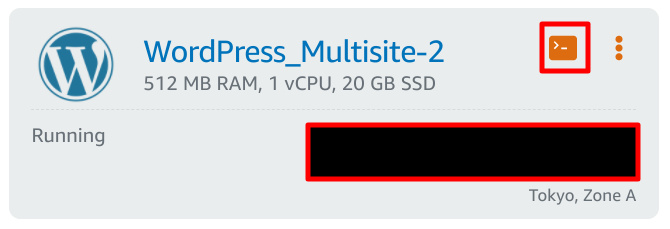
It automatically connects to SSH in a separate window of the browser.
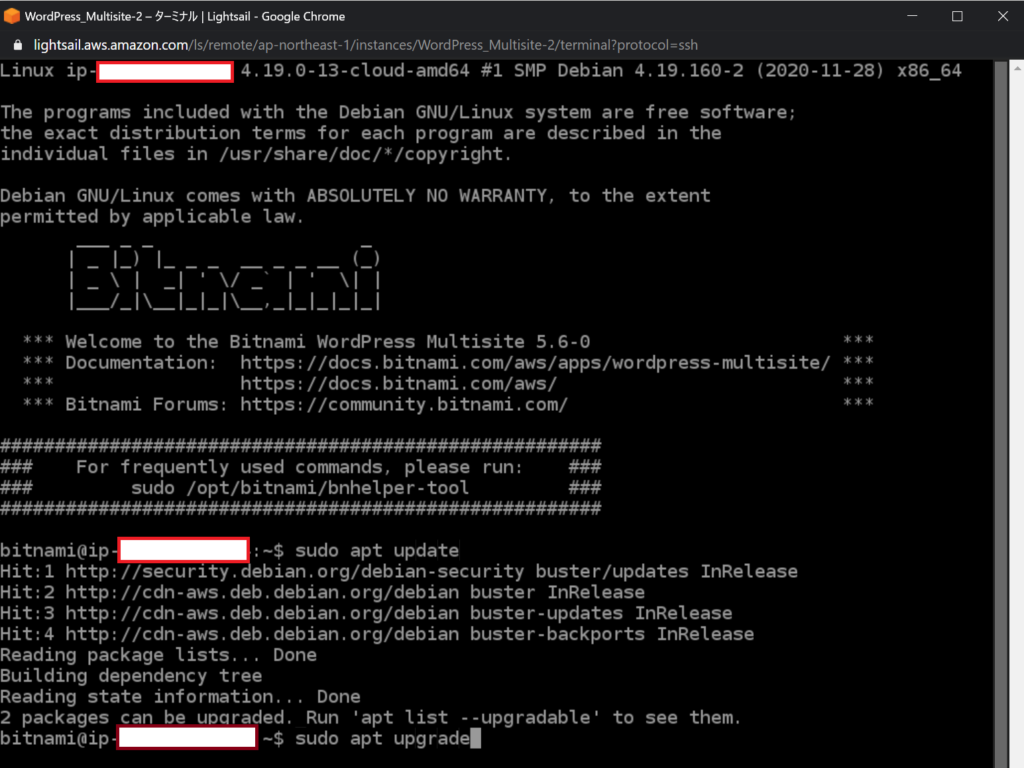
Please perform sudo apt update, then sudo apt upgrade.
When finished, you can exit with exit.
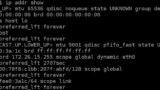
At this moment you can access your blog site with http://<IP address>
You can find IP address by this. panel.
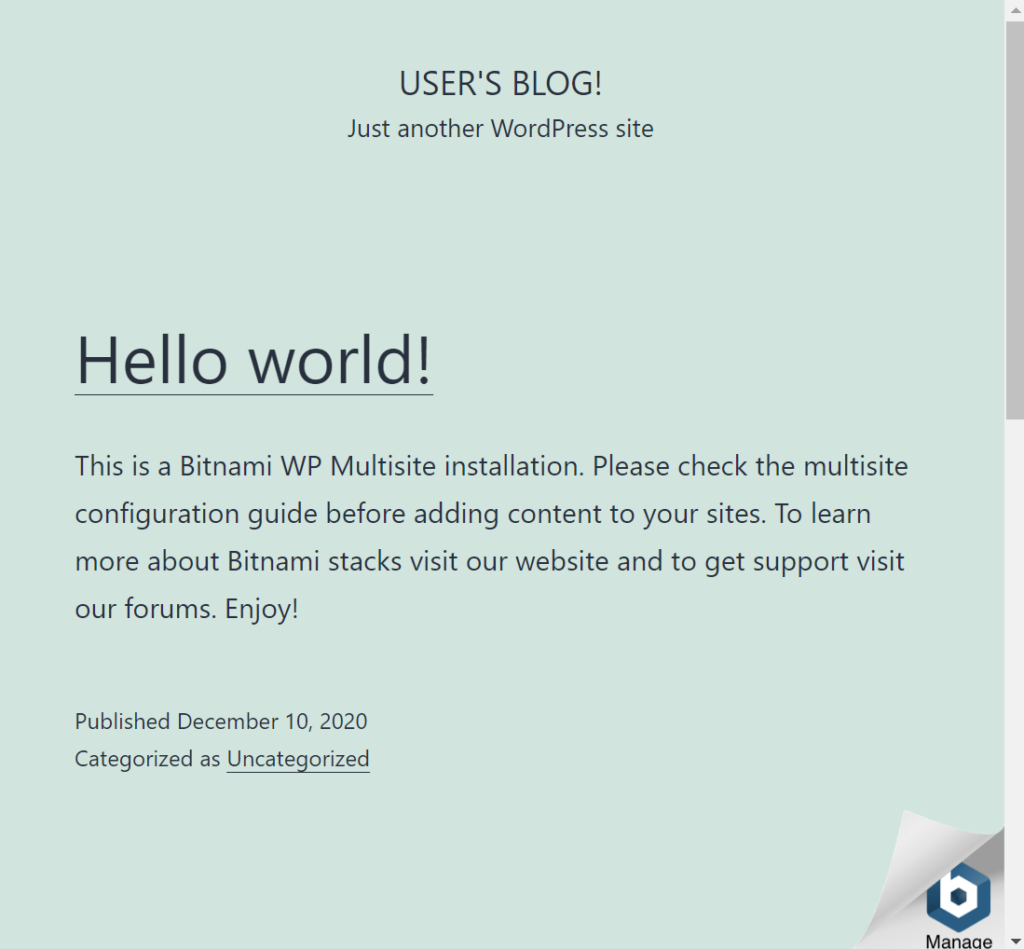
It is OK if you see web page like this.
Initial settings for the Management Screen
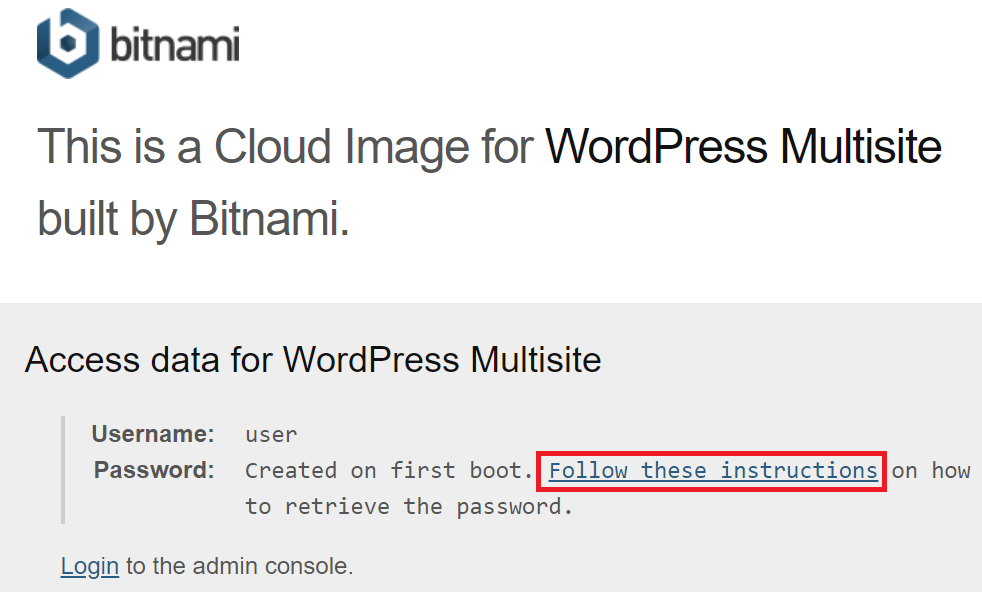
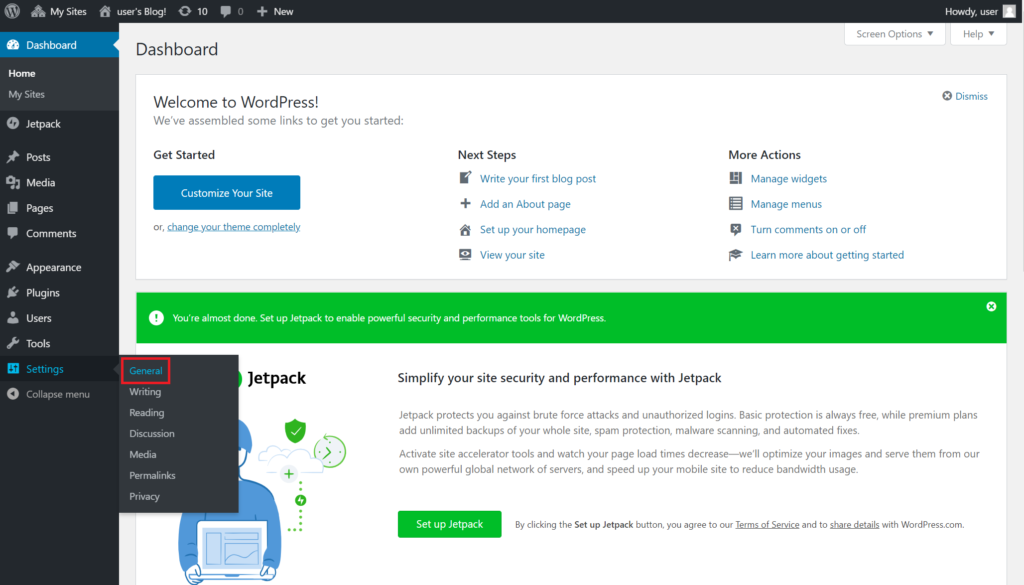
You can go to management page from Manage icon in top page shown above.
In management page, click Follow these instructions.
There is a password acquisition method when logging in to the management page.
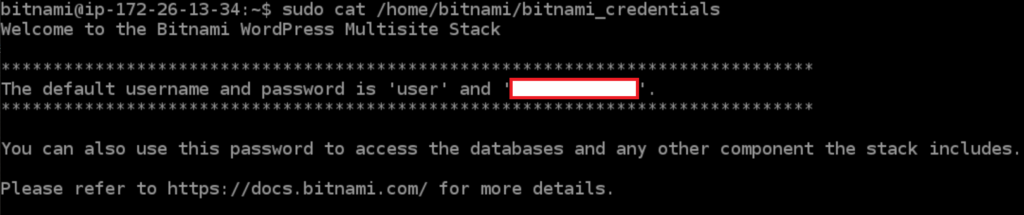
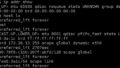
sudo cat /home/bitnami/bitnami_credentials
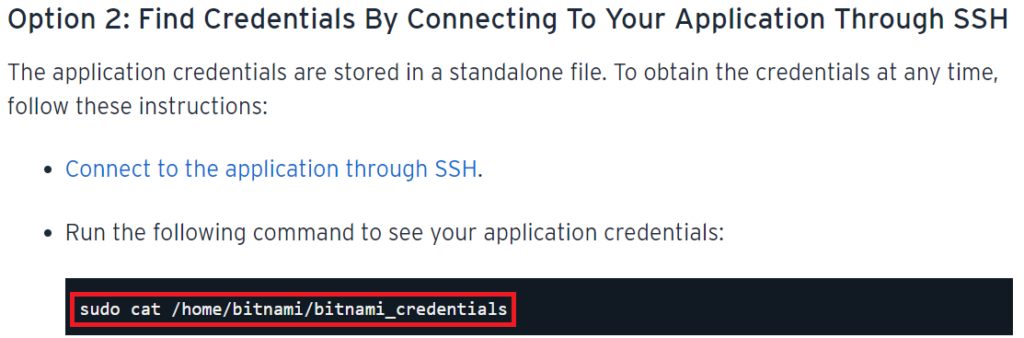
With this command you can see the password as follows.
Go to management page. Click Login.
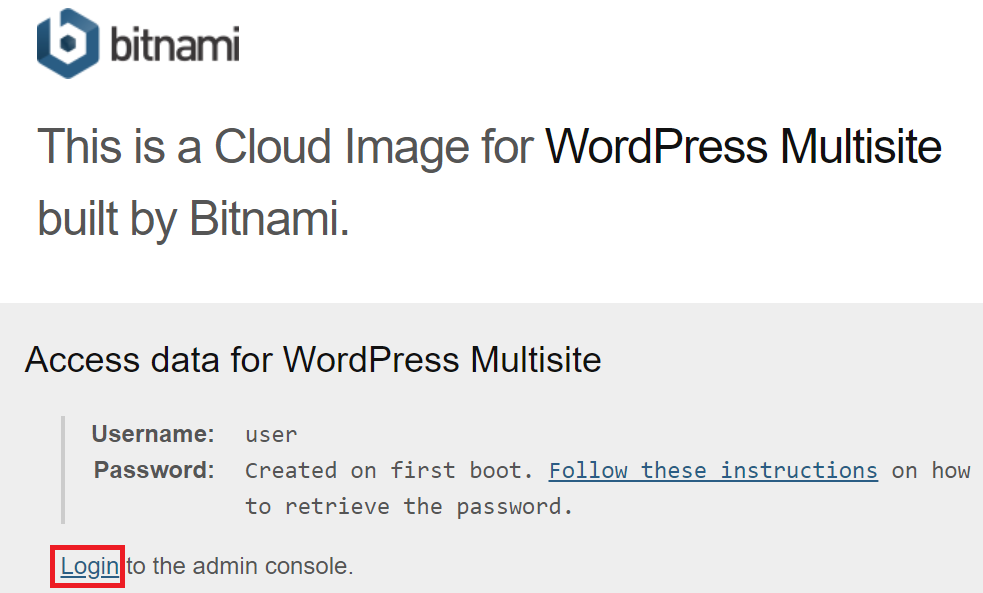
The user name is fixed user, and the password is the string displayed earlier.
You should be able to log in.
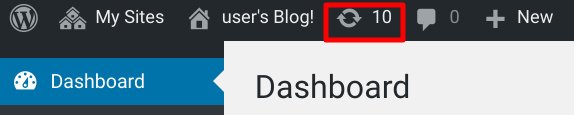
WordPress updates
WordPress updates appear, so let’s do it.
Click the update icon.
There may be updates for plug-ins and themes respectively.
First let’s update plugins and then themes
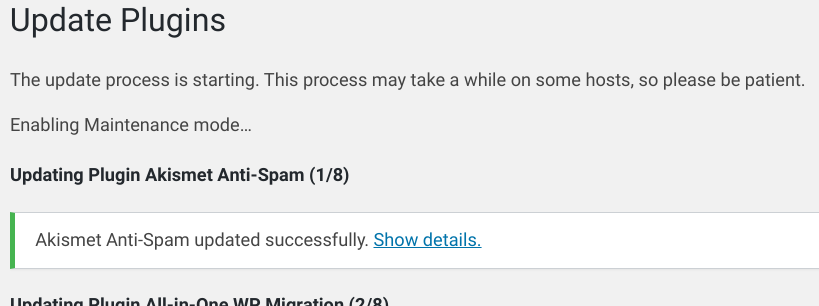
Check all plugins with all selections and update the plugins.
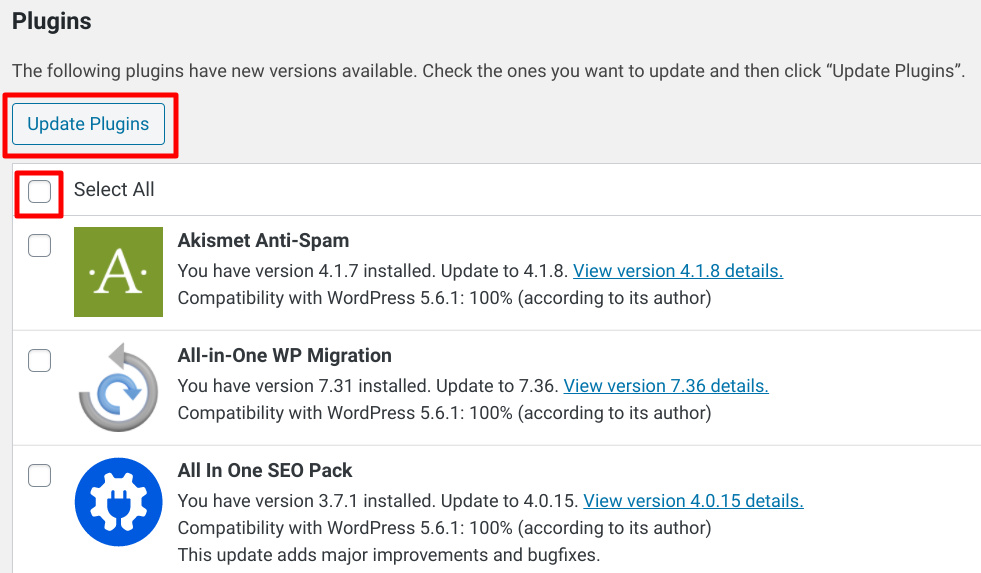
When you see this screen, plugin update is finished.
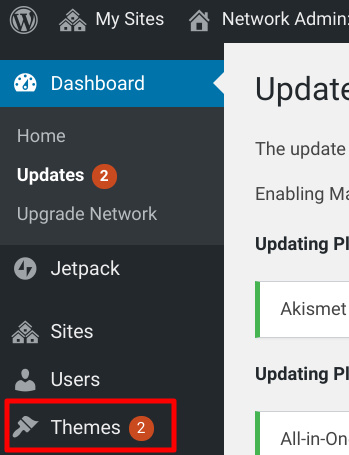
Similarly, update themes.
Click Themes.
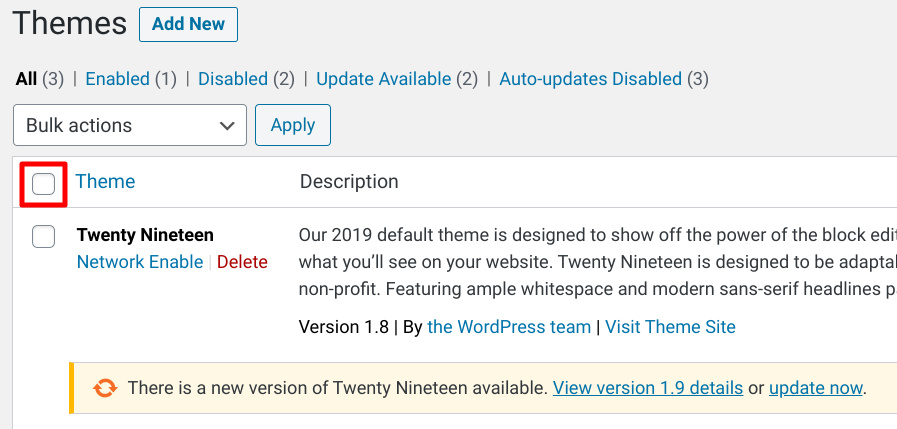
Check the checkbox to the left of the theme to select all themes, and then …
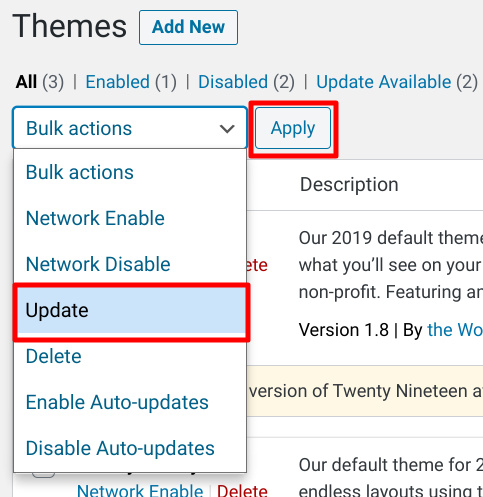
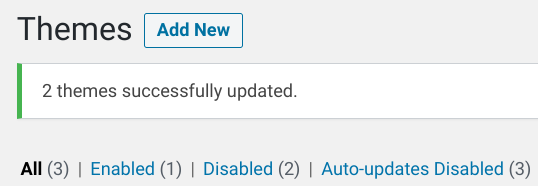
Select Update in Bulk actions, and then click Apply.
If such a screen comes out, all themes were updated successfully.
Delete banner
If Manager icon at the bottom right of blog is annoying, you can hide with following command.
sudo /opt/bitnami/apache2/bnconfig --disable_banner 1
That’s it!
Conclusion
How was it?
Now you got your own blog server.
Next time, I will explain how to set fixed IP address by this article!
Comments